For anyone that collects some sort of deposit, or pre-payment for their services, using retainers is essential for proper invoicing and good bookkeeping.
Retainers – aren’t those for teens with bad teeth?
A retainer is a deposit that a client pays you to put towards future invoices. Many service industries use them as a way of making sure that their billable time doesn’t go to waste. A project that is delayed means that a service based contractor, like a web designer who booked a couple solid weeks to work on a new site for a client, wouldn’t get paid until after it’s done without a retainer. Or, in the case of a wedding photographer, that retainer would ensure the date they’ve booked is solid. The amount would cover the opportunity cost of not being able to book another gig in case the bride and her potential mother-in-law come to blows before the big day and cancel the whole thing. Lawyers will also typically request a retainer before taking on a case to account for court fees and the time needed for the initial claim, for example.
Use an estimate to “invoice” the retainer initially
First thing you’ll need to do is send your client an invoice for the agreed retainer amount. Except that it’s not really an invoice, because you haven’t done anything yet. So we’ll use the Estimate feature to send our client a notification to pay up first.
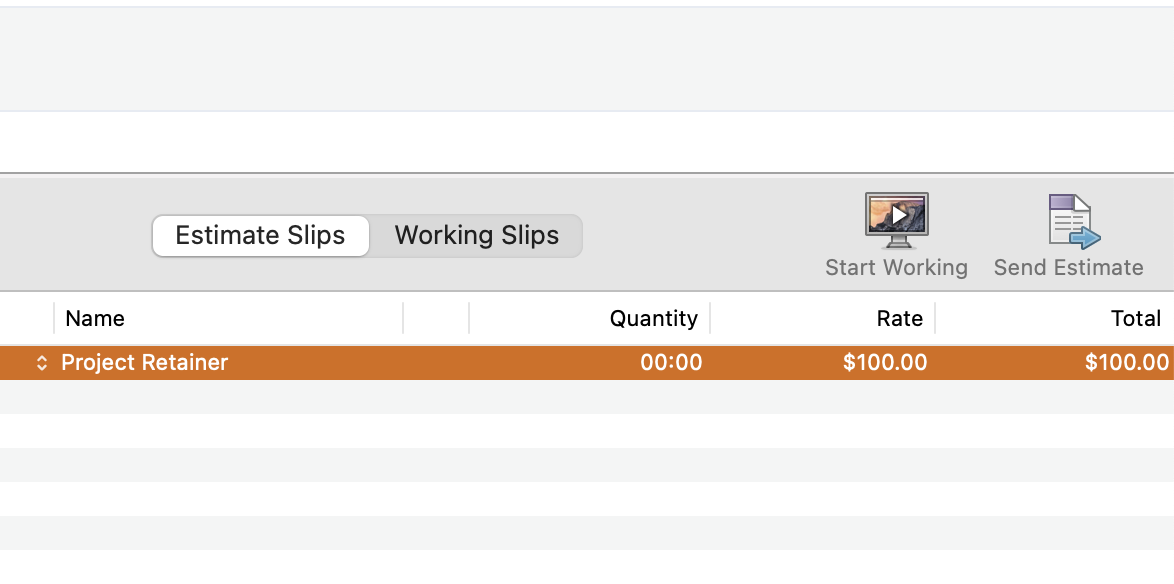
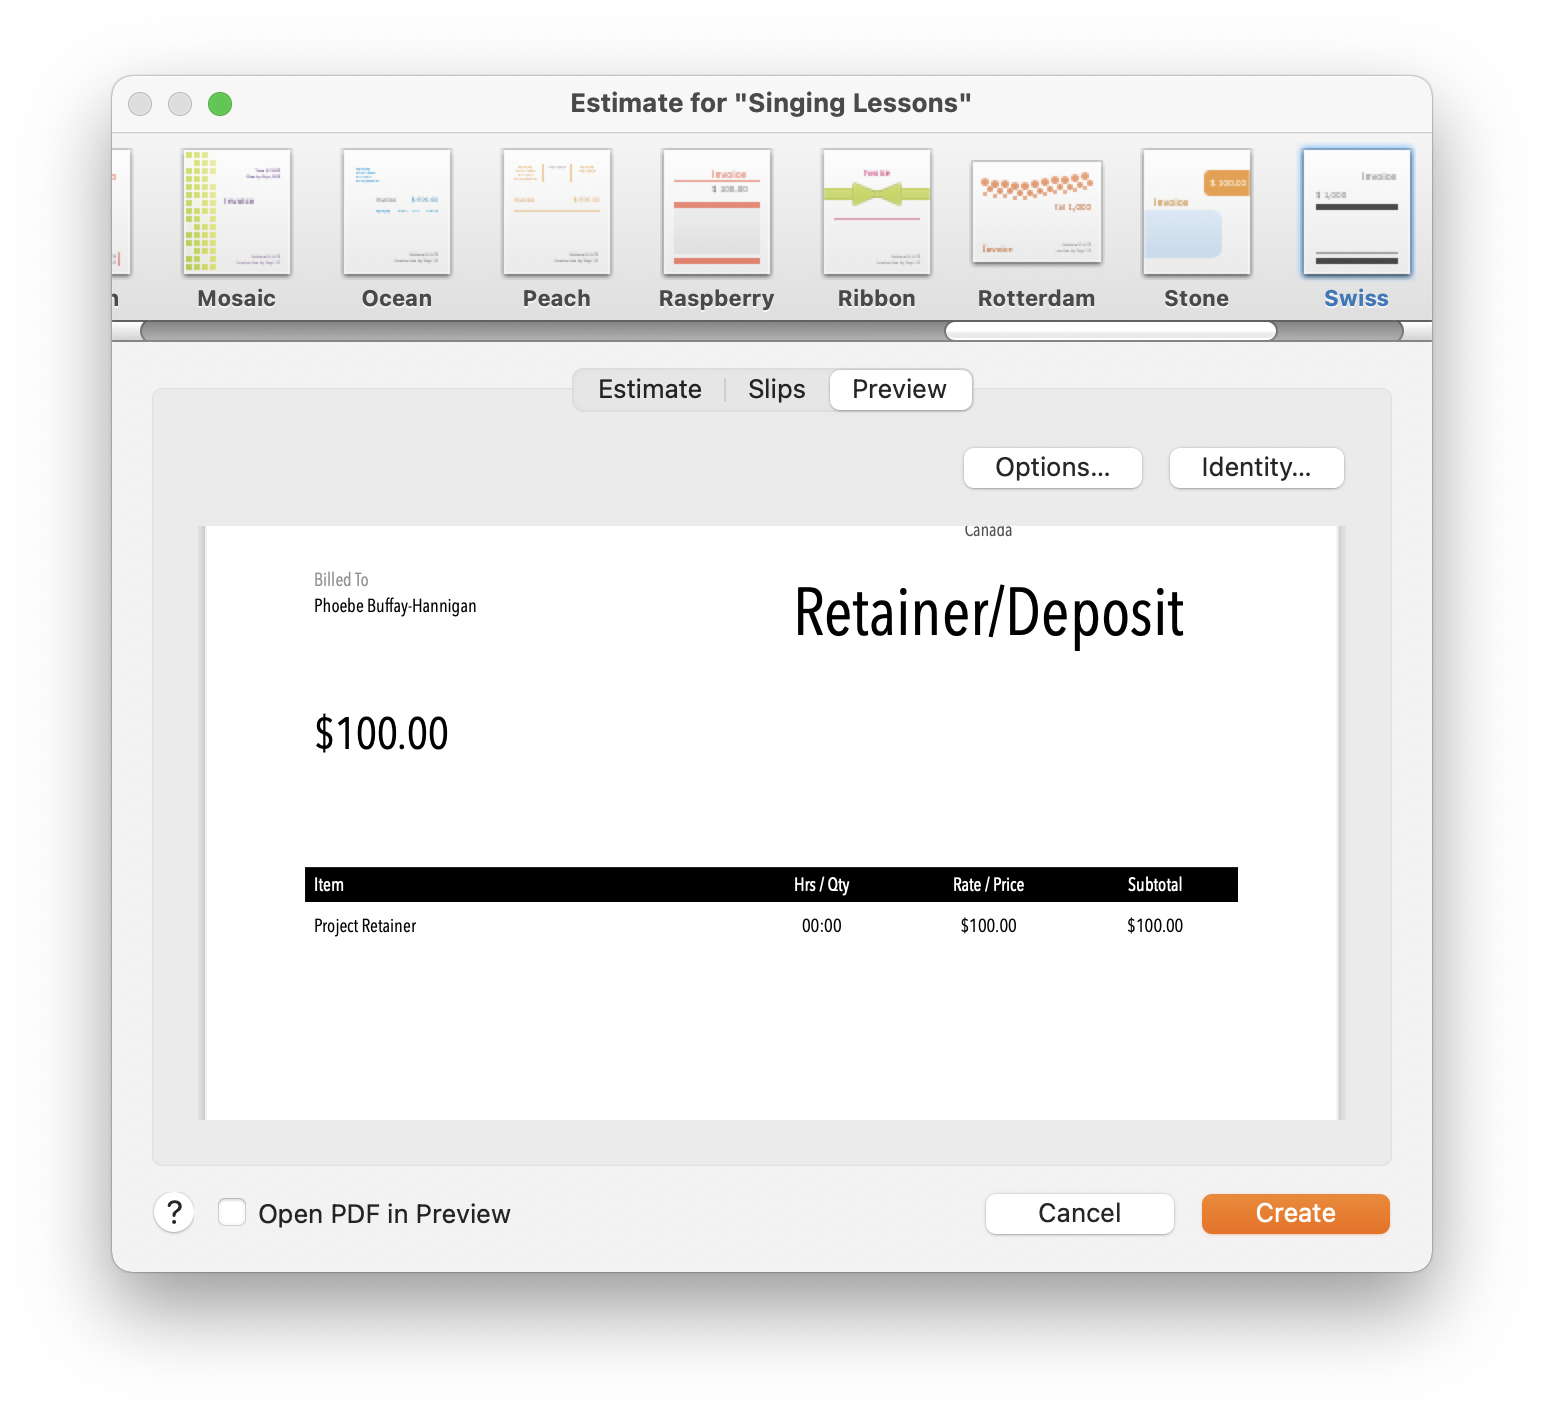 Create a new project if necessary and add an estimate slip with a fixed amount of your retainer. Give the slip a name like “project retainer” or “deposit” so it’s clear what this is for. Click on send estimate and then switch to the preview tab.Click on the options button and under the General heading, change the header to say “Retainer/Deposit Due”.
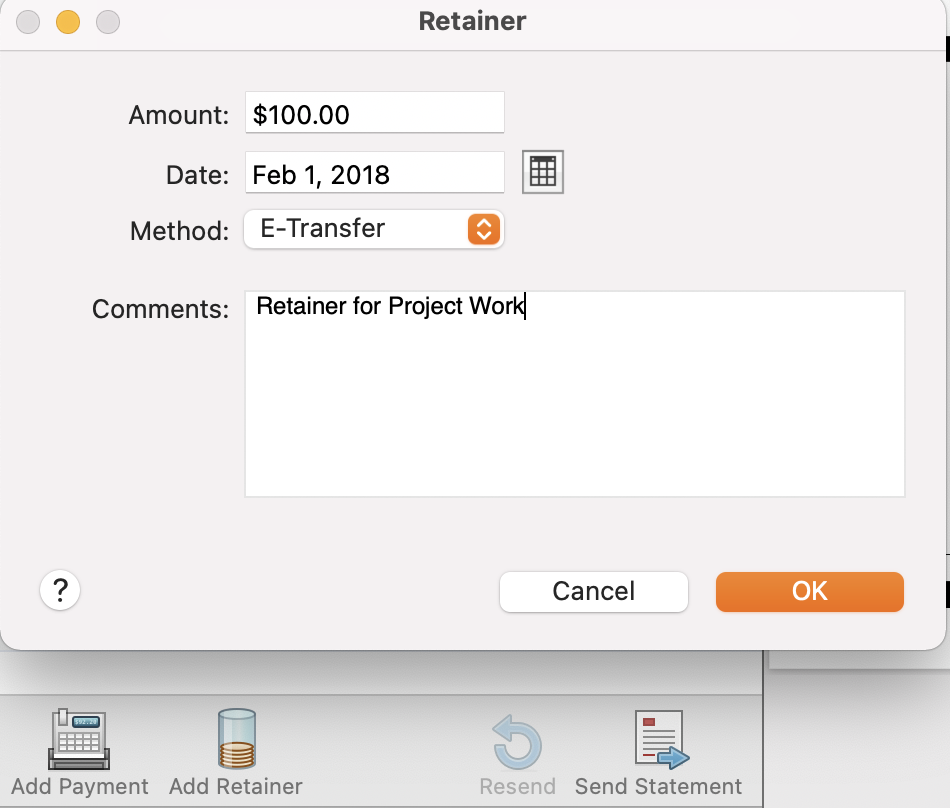 Send that estimate off and when you’ve received the money from your client, instead of entering it in as a payment, switch to the accounts view and click the add retainer button. Add any notes necessary for your bookkeeping purposes (cheque numbers are sometimes a legal requirement for tax purposes in some places) and after clicking okay to confirm, you’ll see your retainer balance for that client in the accounts tab.
Using the retainer to pay invoices
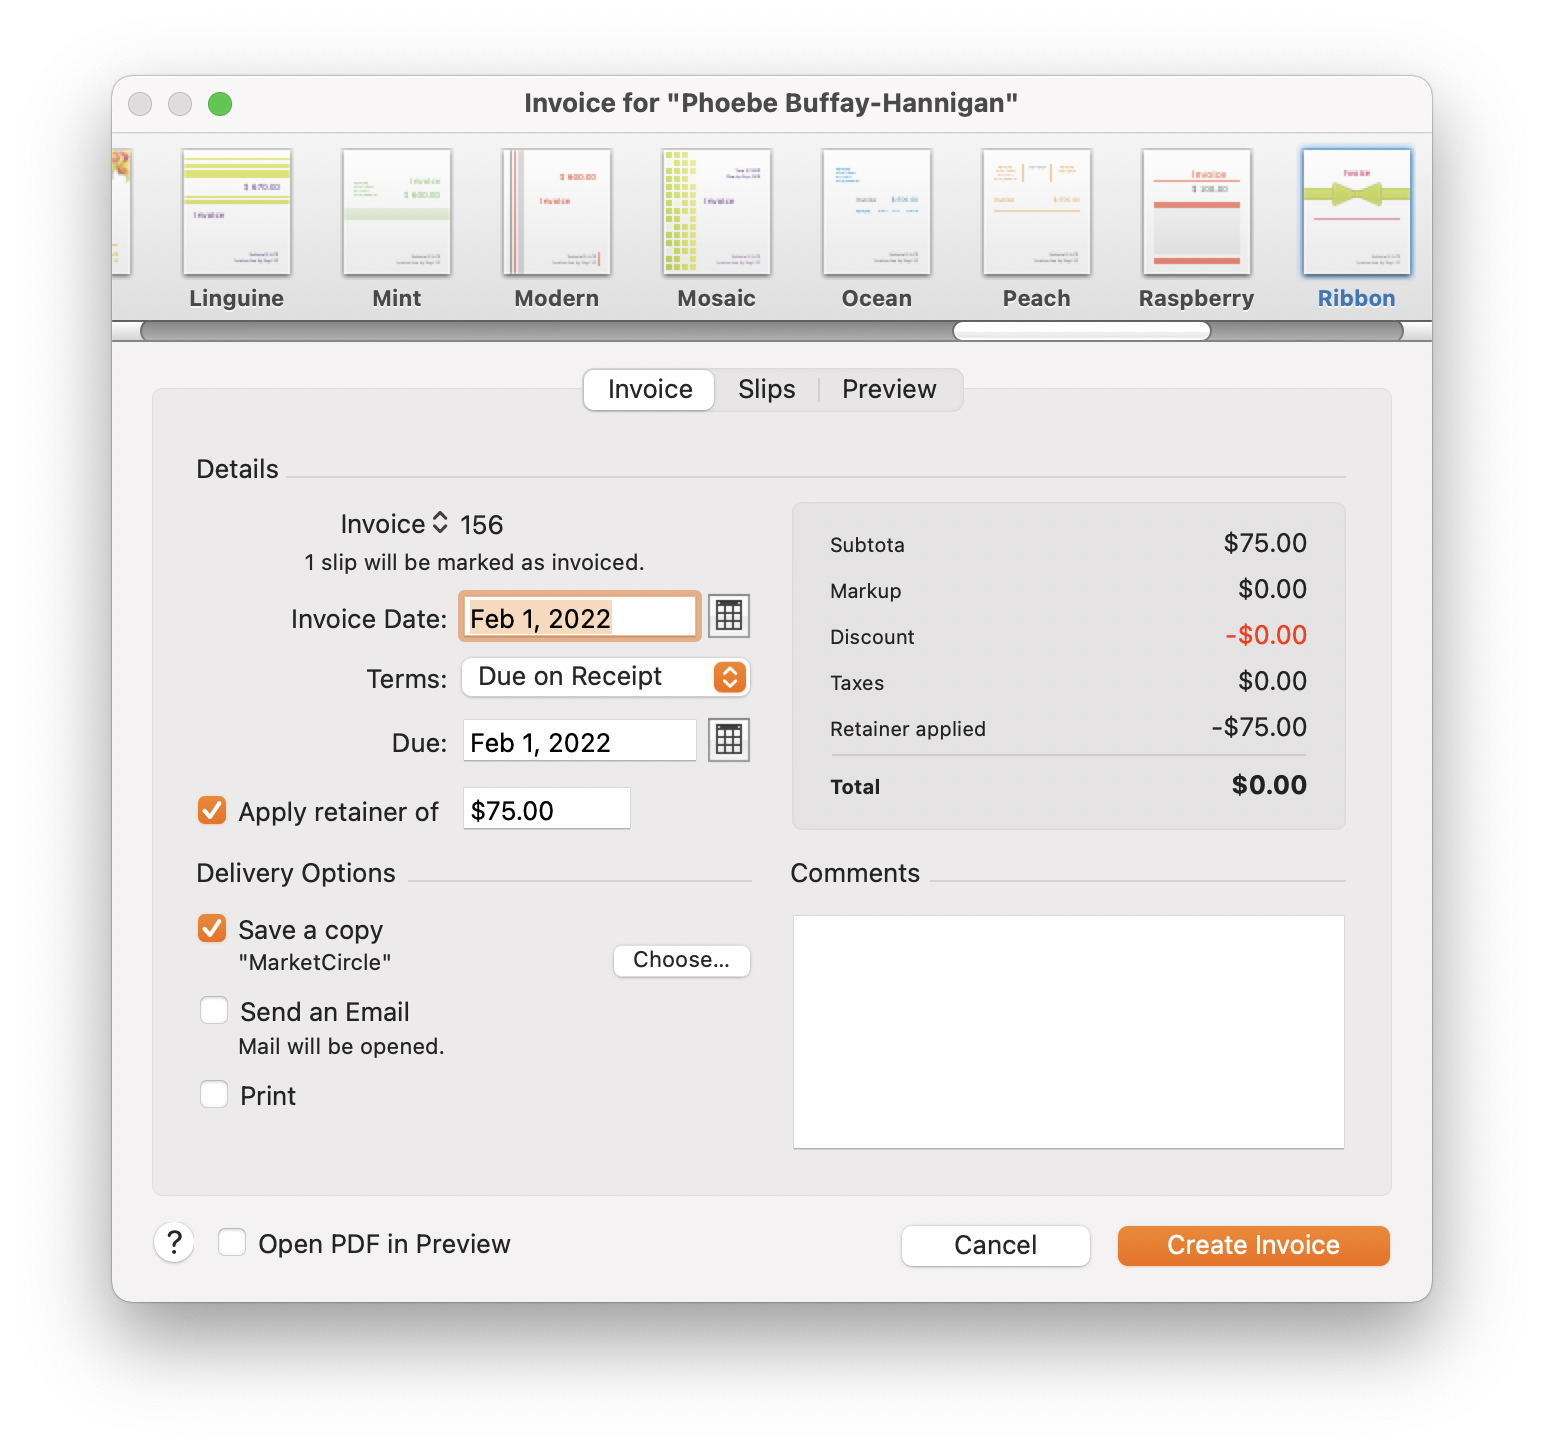
Now you’d go ahead and start working, tracking your hours and expenses as working slips like normal. When you’re ready to invoice, select those slips and create a new invoice by clicking on the send invoice button. In the create invoice window, check the “apply retainer of” button to use that as your payment source for this invoice. If your invoice total is less than the amount in the retainer, the invoice will show a $0 balance, indicating to your client the amount billed for those services but that they don’t owe you anything yet.
As you whittle down that retainer, Billings will calculate the amount owing after deducting as much as it can from the retainer balance. For example, if you have a $1500 retainer balance and you create an invoice with slips totalling $3500, checking the apply retainer button will leave you with an invoice balance of $2000. You can use retainers in exactly this way to apply a payment on a project for which you collect a certain percentage deposit before starting work.
But when does the gravy train end?
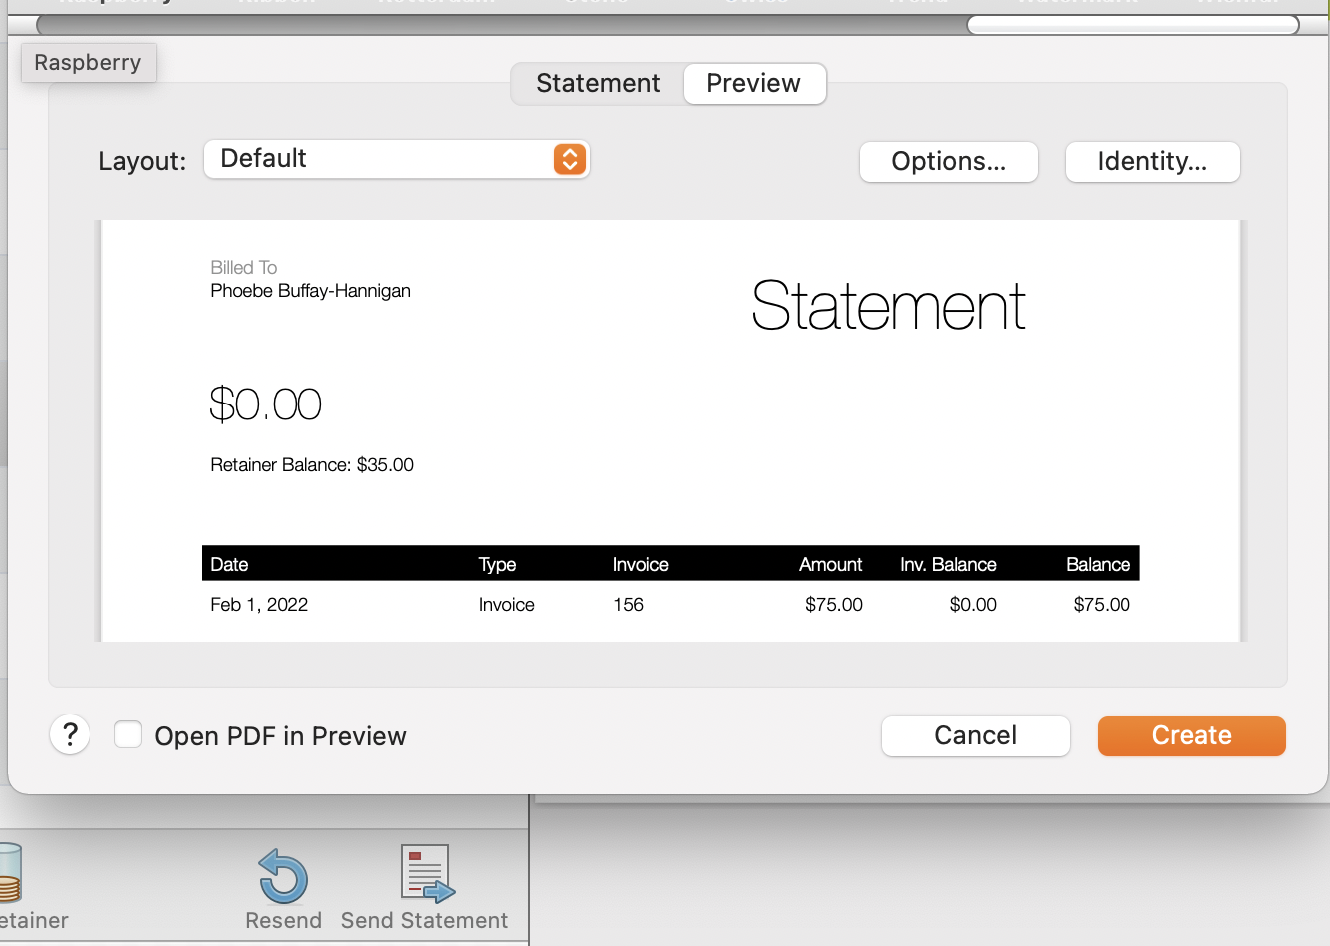 To update your client as to the remaining balance, generate a statement by selecting Send Statement from the Client menu. Switch to the preview tab and click the options button. Check Show retainer balance and click OK. Send this statement along with your invoice to keep your client informed of how much more of your time they are lucky enough to have in the proverbial bank. You can also use the Swiss layout as a basis for your invoice template, which includes an alternate layout that includes the retainer history.
By invoicing this way, the payment dates will be correct and Billings Pro will book your income as of the date of the invoice, not when you collected the retainer.