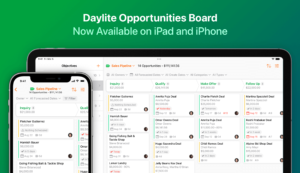
Being able to track your business is very important in visualizing your company’s success. Last week we talked about sending out targeted e-mails through Daylite to Reach the Right People. After sending out e-mail blasts, you expect to get responses right? You can use these responses to create new business opportunities. You could be sending out targeted e-mails about a new product launch and then track the responses of new leads that could turn into potential buyers. Last week we used the example of being a talent agency sending out e-mails to let clients know about an upcoming audition in their area. So what happens after the e-mails flood from clients who want to book an audition? This is where Daylite’s objectives come into play (Opportunities and Projects).
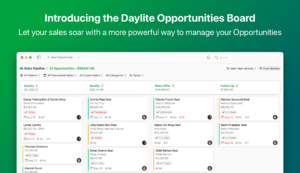
Opportunities are used to track the information specific to any potential business (the value of that potential business, forecasted start and end times, where the opportunity came from, the type of opportunity etc). Before creating an opportunity for them, you want to decide, “Is this the point where this individual qualifies as an opportunity?”
If not (maybe that qualification comes after the initial audition), at the very least you want to begin tracking this individual with the use of an Appointment (the appointment would track the details of the audition).
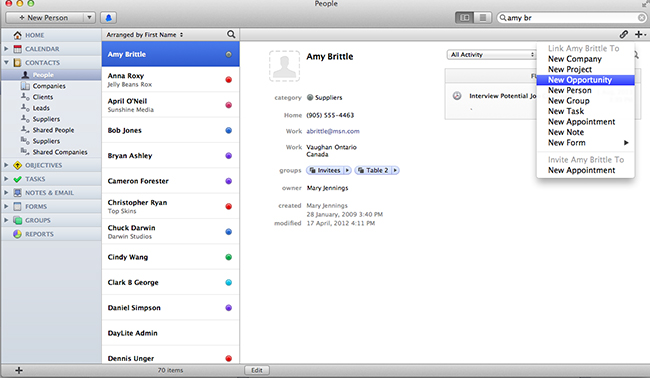
Let’s say Amy Brittle wrote back that she in interested in attending the audition, and this means she’s now been qualified as potential business to you. The process involves several steps. You’ll want to add these steps to the Opportunity (as linked Tasks or Appointments). These items are common for each audition (and to save time for all the other responses you will receive from the reach out), you can predefine Pipelines or Activity Sets with these items (this way you won’t have to create them each time). In this scenario, we’ll create these items individually so that you can see how this works, but for more information on Pipelines and Activity Sets, you can review these videos here. The process for Amy Brittle will be to first send a reminder e-mail prior to the audition, then enter an appointment to track the details of the audition that is taking place, and finally a follow up call to the agency to see how it went (you can keep all this information linked to the Opportunity). When thinking about your own workflows, it is important to keep that process in mind when creating opportunities so that all the information you need is properly recorded.
Let’s go through this process. To link an opportunity to a contact, simply search the contact’s name in the top right corner and double click their name. Now click the “+” in the top right corner and select “new opportunity”.
You can name the opportunity in a way that makes sense to you. In this case, “Schedule Audition”.
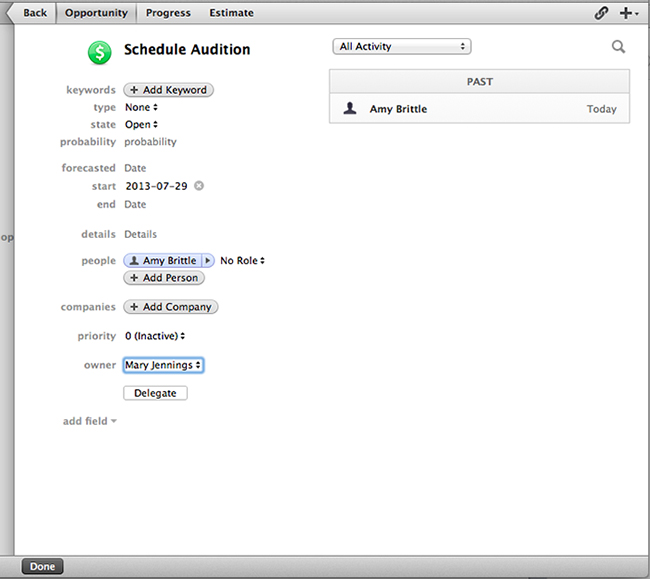
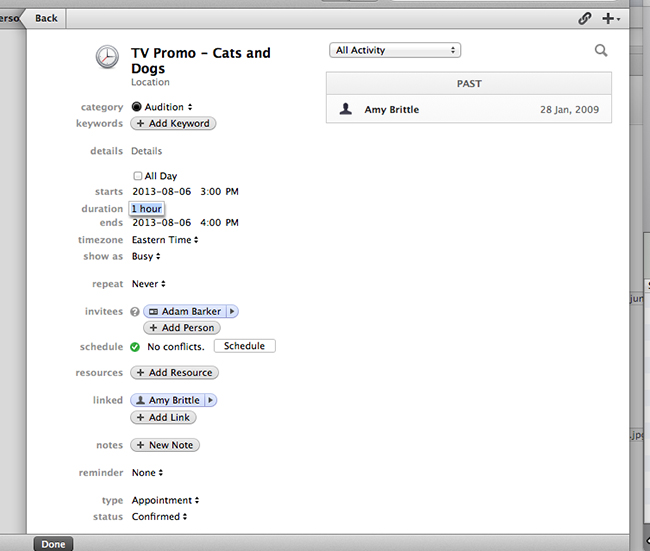
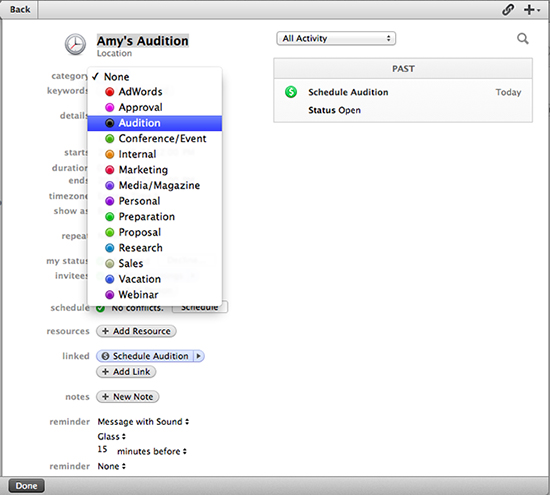
After, we want to create a linked appointment, representing the actual date and time of the audition itself. This is different from the opportunity because the opportunity is the big picture, and this appointment is a specific time. You can create the appointment by clicking the “+” in the top right corner and selecting “new appointment”. Here we will fill out the specifics of the appointment ie. the date, time, any other contact involved. You can classify this appointment by adding a category (in this case, “audition”) in order to later filter through appointments and track the success of your e-mail blast.
Finally, you can create a task for the followup with the agency and link the agency to the task as well. This way when viewing the task in your due list, you’ll see the linked Opportunity and the contact your calling at the agency with all their details.

To customize your categories, go to Daylite preferences, click on the “categories” icon and add categories by clicking the “+” in the bottom left corner. You can also set the objects this category applies to. Now you can easily filter through your calendar and view only “auditions” or exclude them – rather than cluttering up your calendar.
You can even make this a smart list if it something you’ll be referring to frequently. For instructions, read our blog about filtering forms in Daylite to create smart lists.
What would you like to learn more about to help build your business with Daylite?