Staying on Top of Follow Ups
Following up with your Contacts is one of the most important aspects of building stronger relationships with them. Without an effective method of following up you risk losing customers, as they feel they aren't being responded to in a timely manner.
Don't let those important follow-ups slip through the cracks. Using Tasks and Activity Sets in Daylite to create follow-ups and follow-up schedules helps keep you in touch with your clients.
Creating a Follow-Up
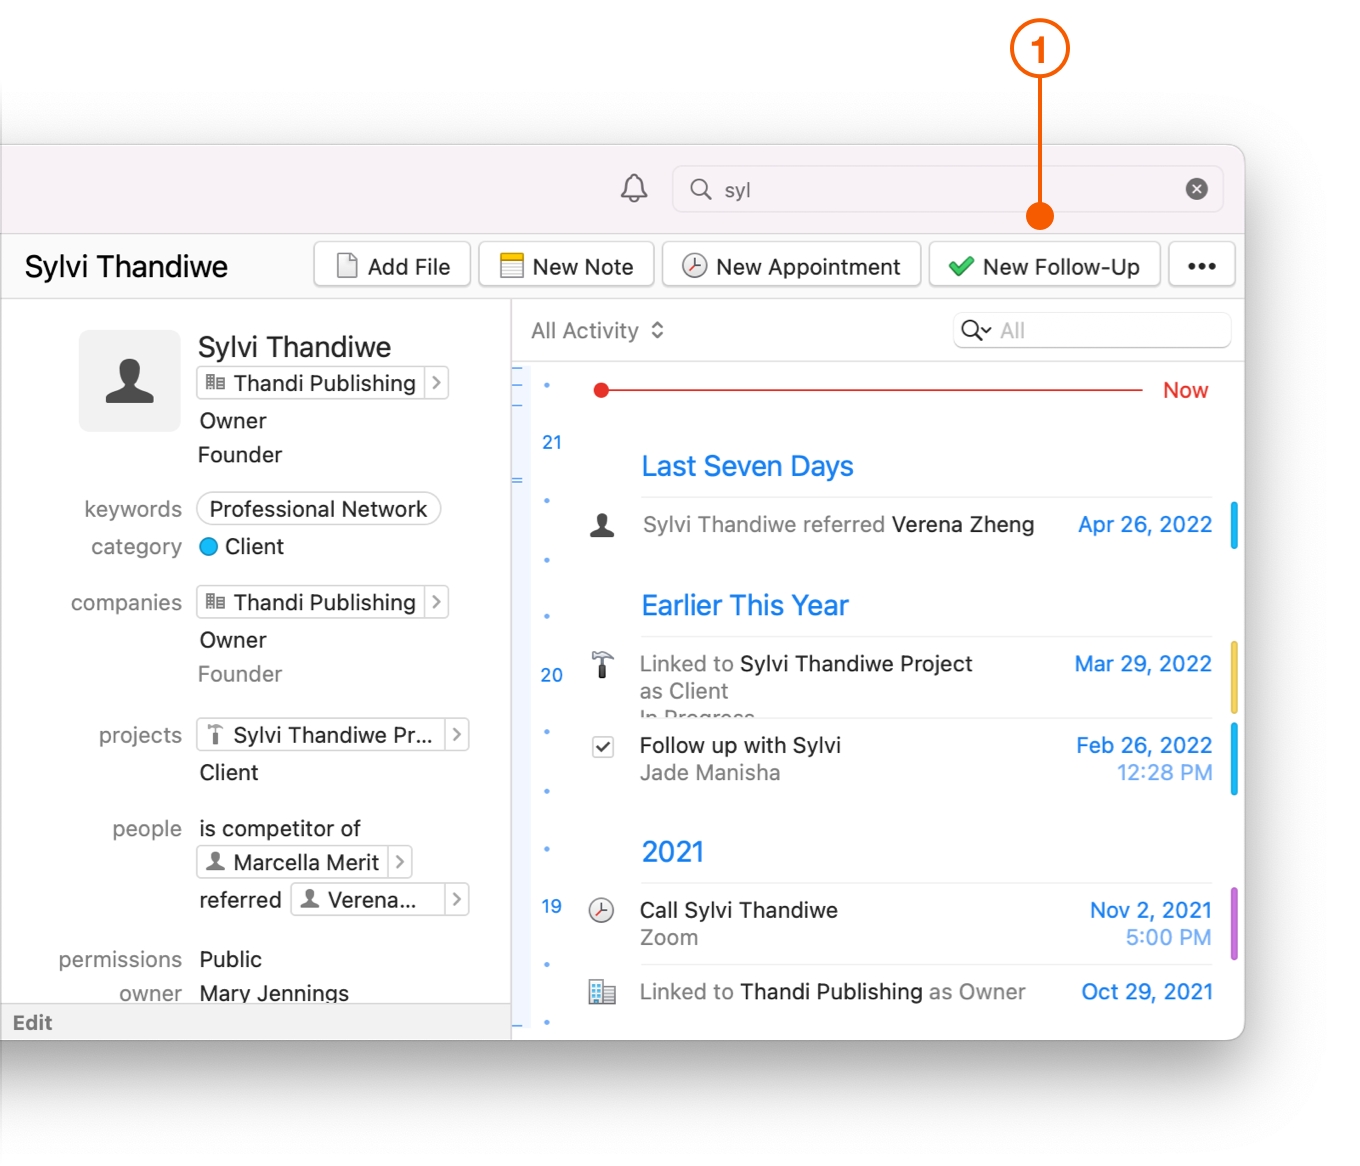
When you view a Person or Company, you can create a follow-up with the New Follow-Up button, which will create a Task linked to the Person or Company, and name it for you so you know it's a follow-up.
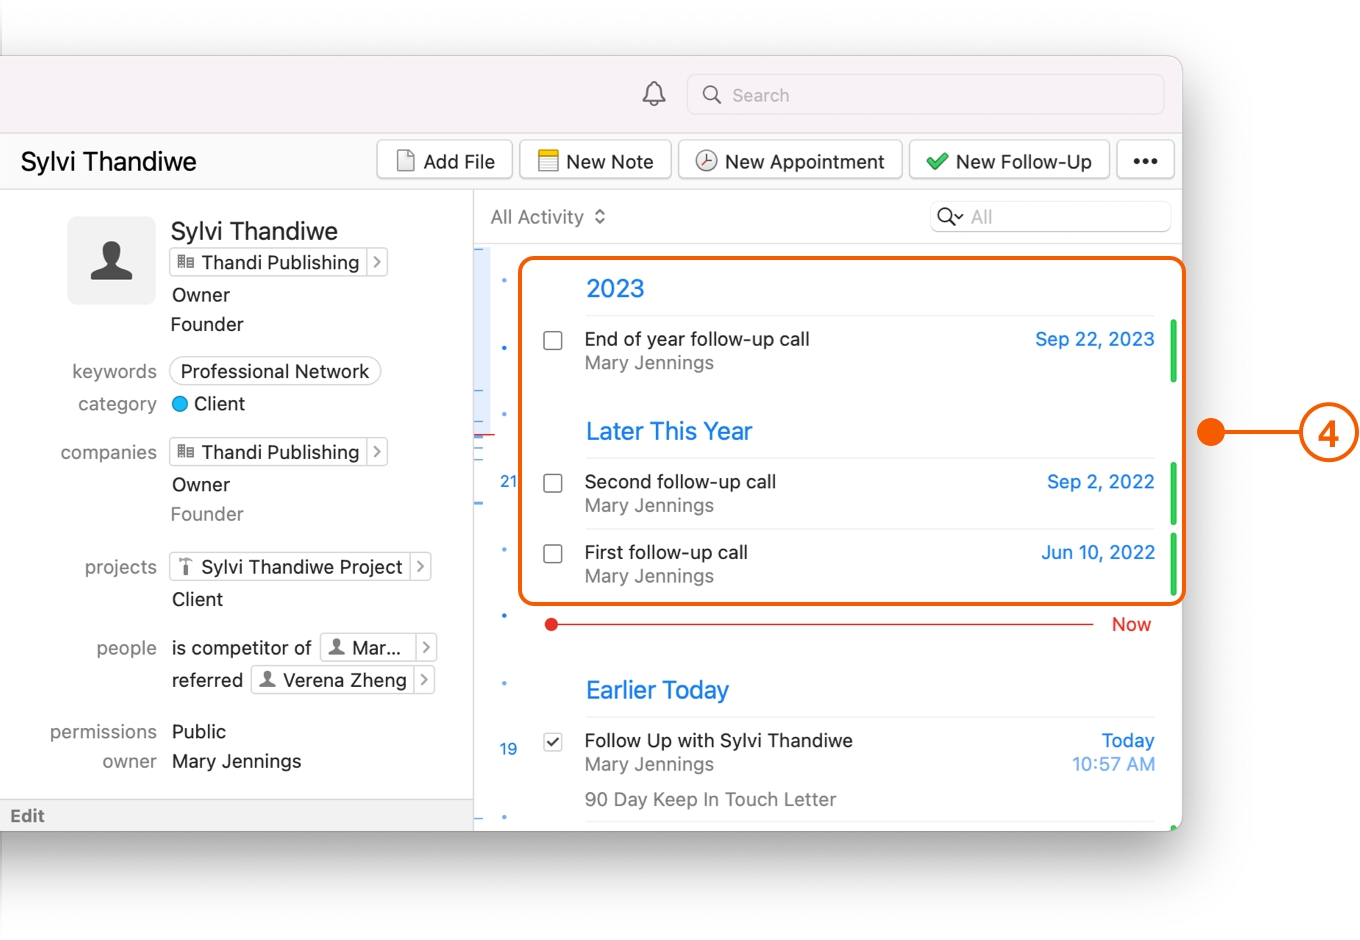
Tasks are great at managing follow-ups because Daylite will remind you when they are due, show that they are overdue, and they will stick around until you mark them as complete.
Locate the Contact and click New Follow-Up.
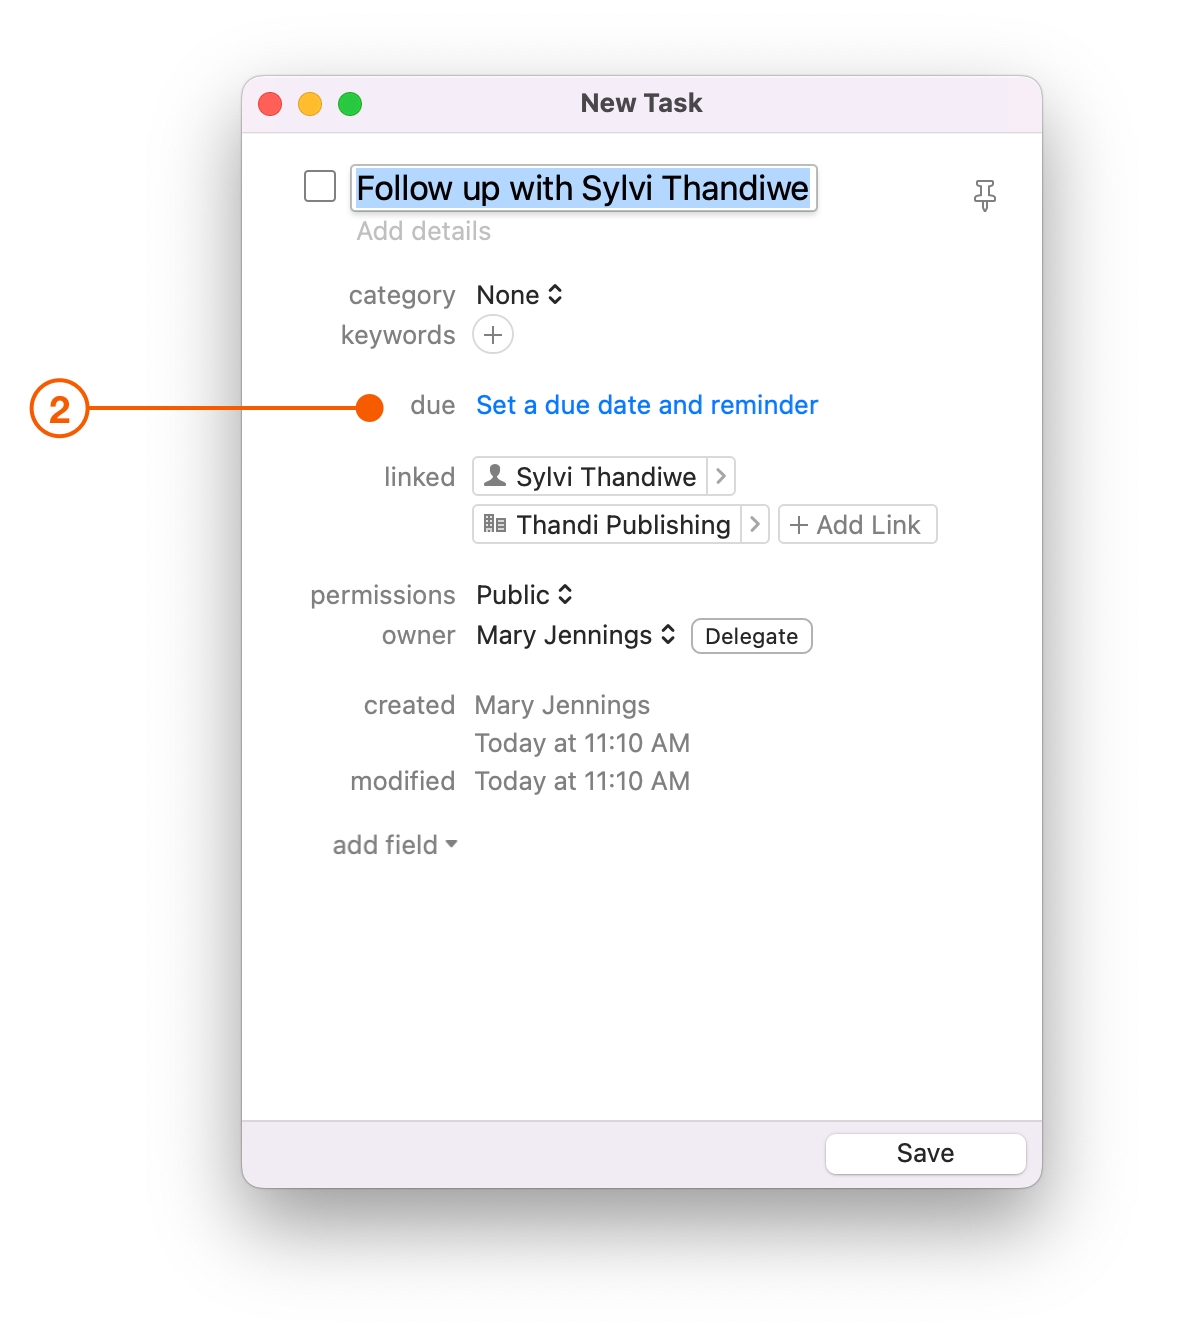
Click Set a due date and reminder to choose when you want to be notified to follow up.
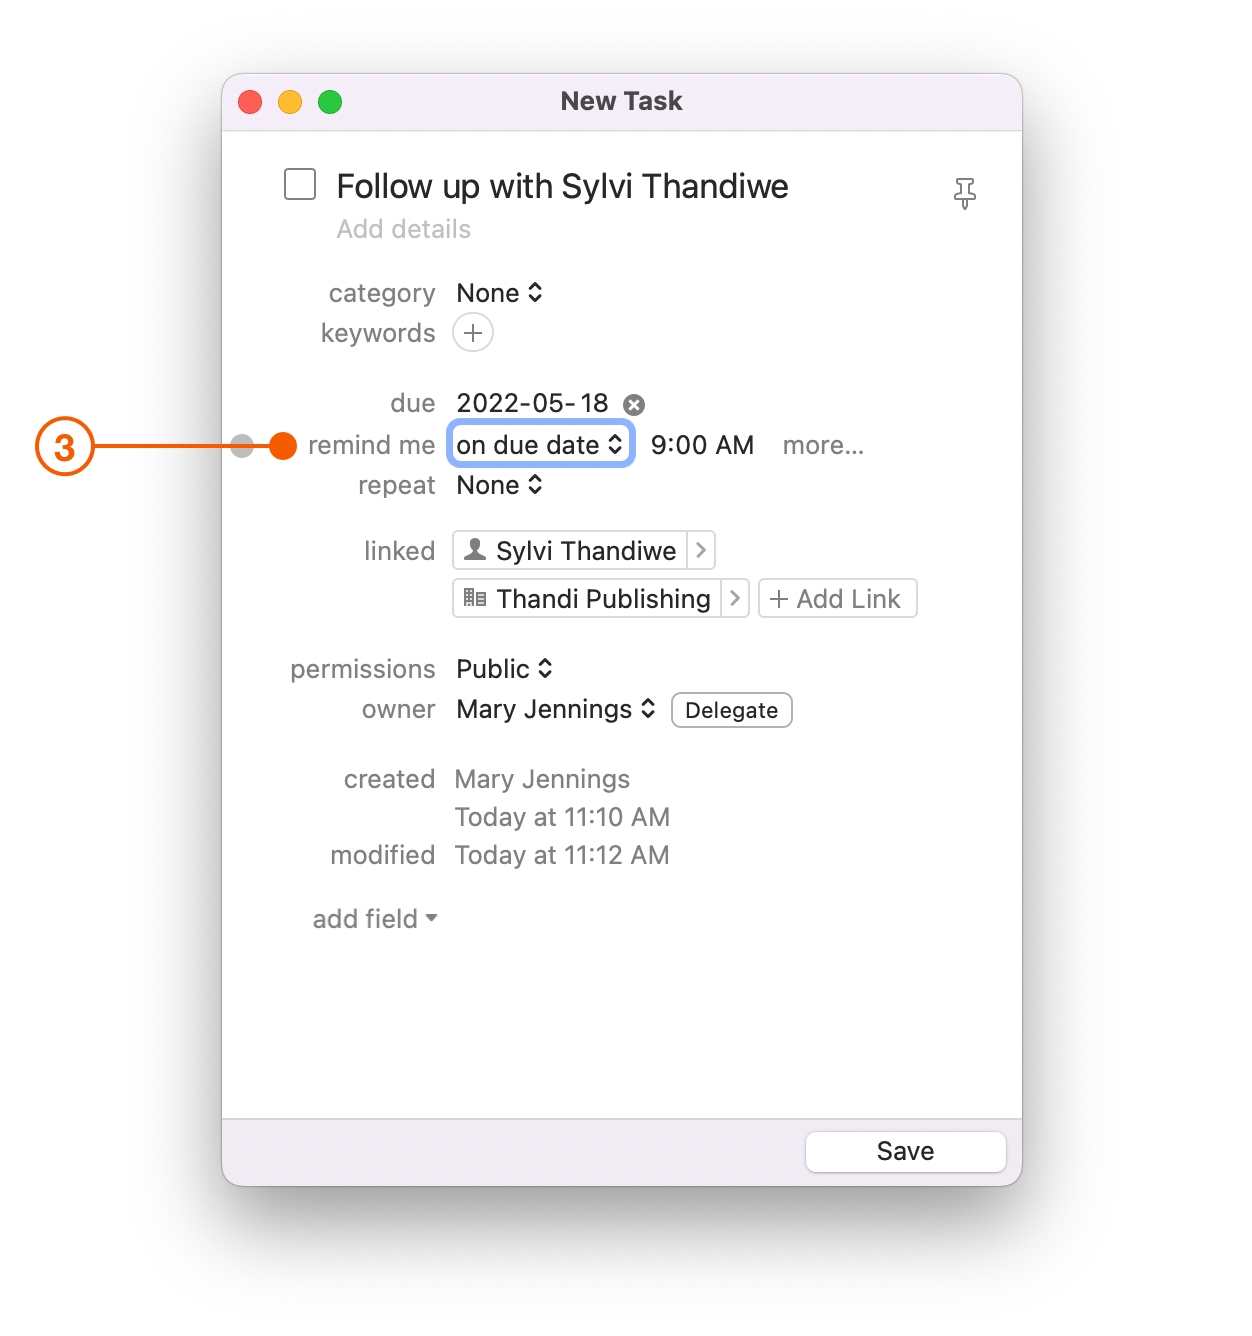
Optionally, you can change the time you want to be reminded or how you want to be reminded.
Create a Follow-Up Schedule
Building stronger relationships with your clients often means staying in touch on a regular basis, but you can't be expected to remember to check in with all your clients all the time. Using an Activity Set you can create a check-in template, or a series of follow-ups, that you can add to your contacts in a couple of clicks, and Daylite will do the remembering for you.
To create a follow-up schedule:
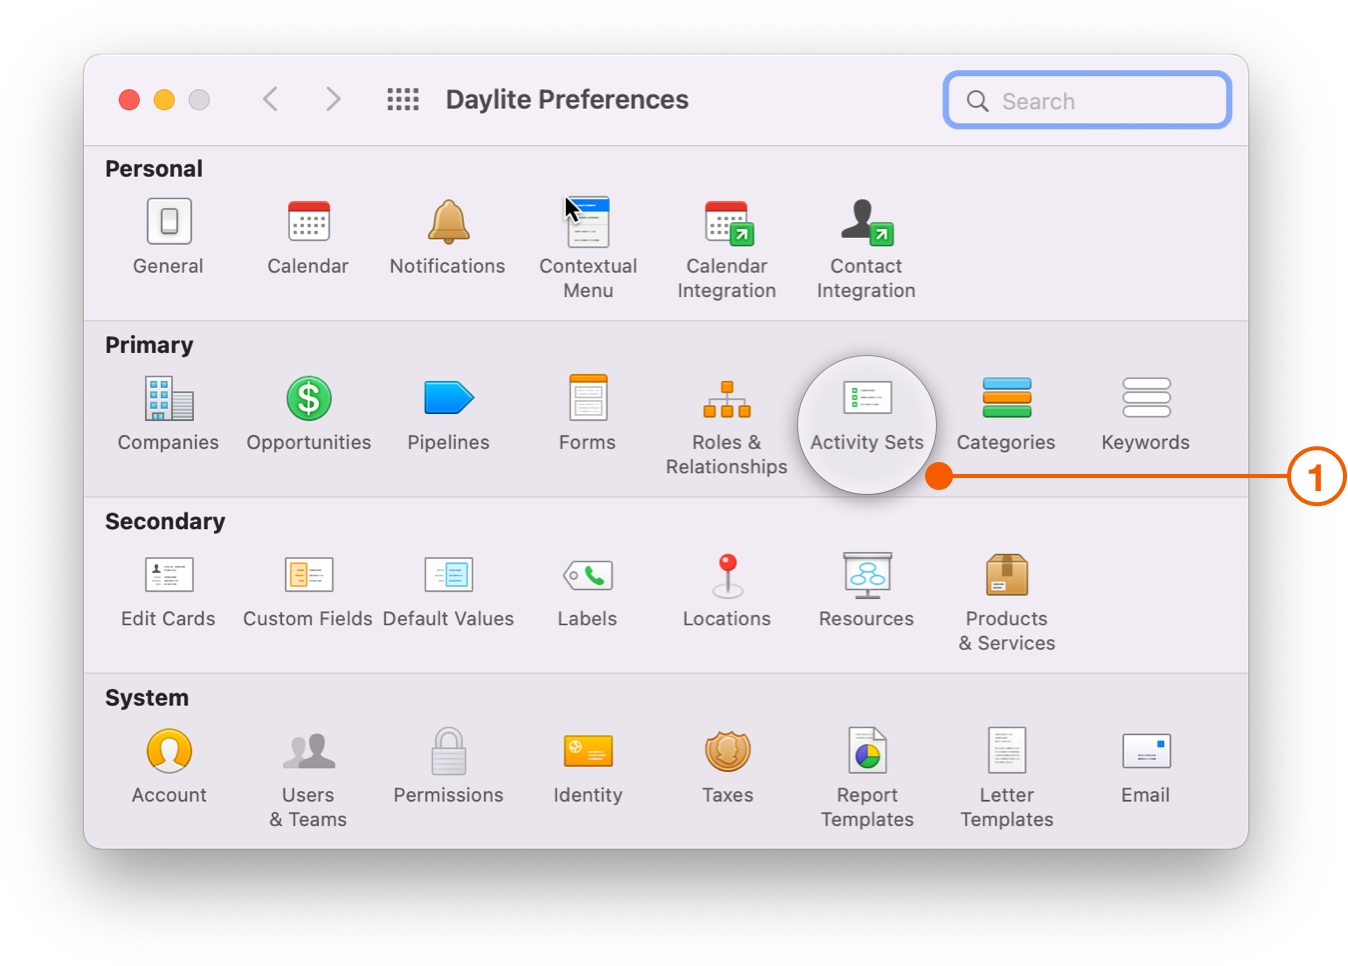
Go to Daylite > Preferences > Activity Sets.
Click the + button to add a new Activity Set.
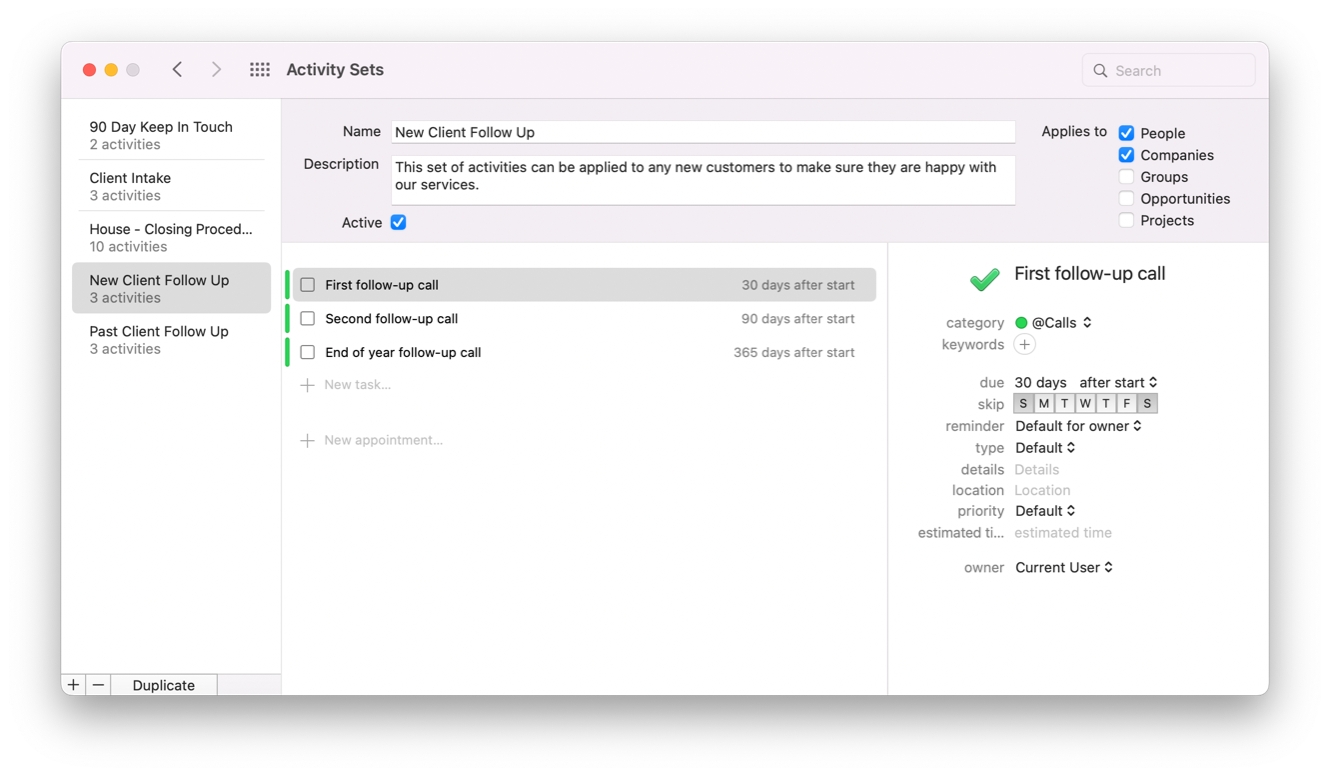
Change the Name to something like "New Client Follow Up".
Select which objects this Activity Set will apply to, in this case People and Companies.
Click on New task and set due dates for each task you create, such as "30 days after start".
Here is an excellent example of a completed Activity Set with follow-ups scheduled in increments that makes sense for the business and type of contact they are intended for.
Adding a Follow-Up Schedule to a Contact
By adding your Activity Set to a Contact, your schedule of follow-up Tasks will be created and linked to the Contact you've selected.
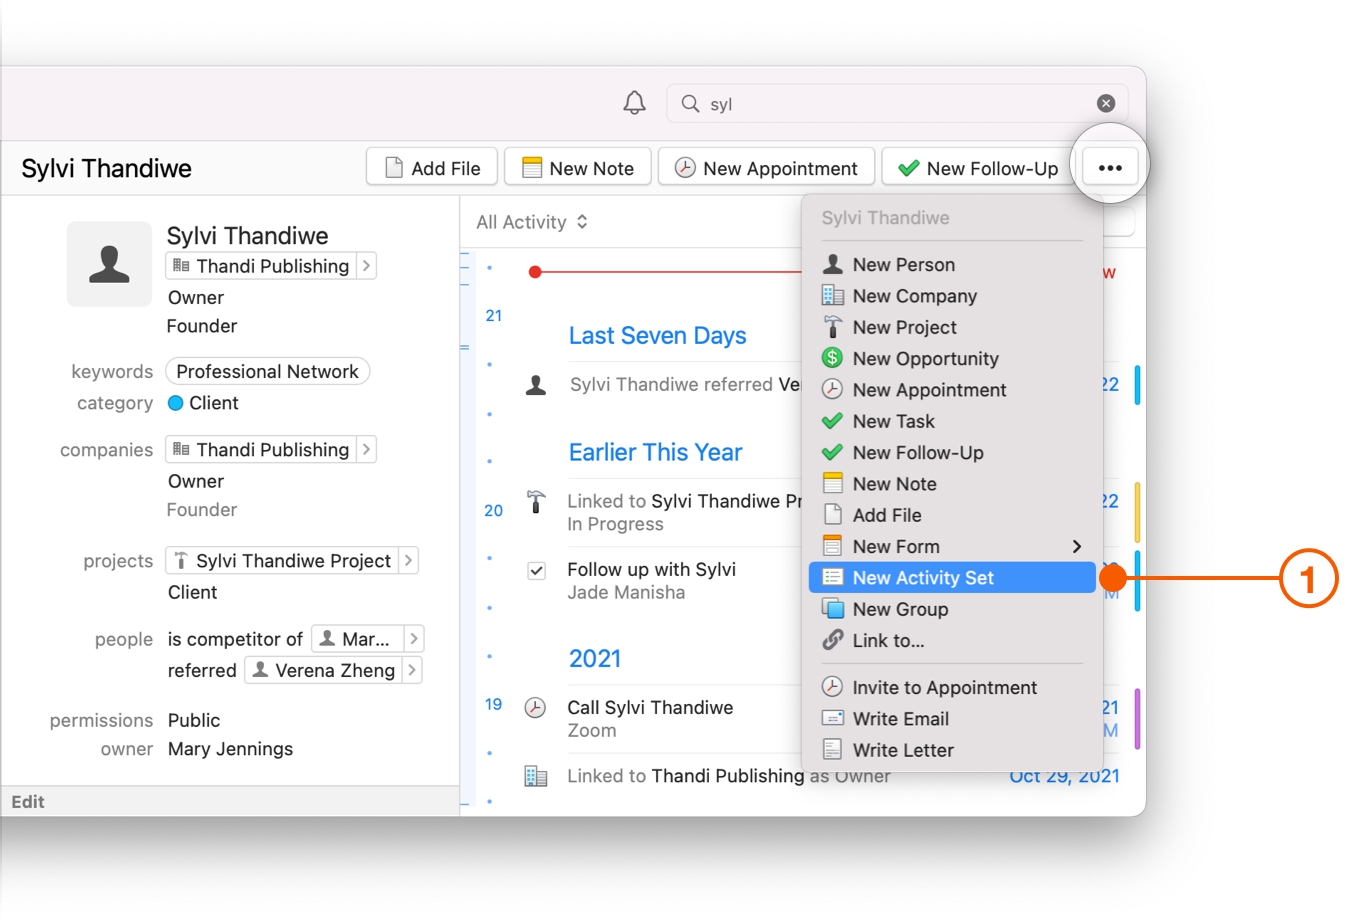
Select a Contact, then click the ... button and choose New Activity Set.
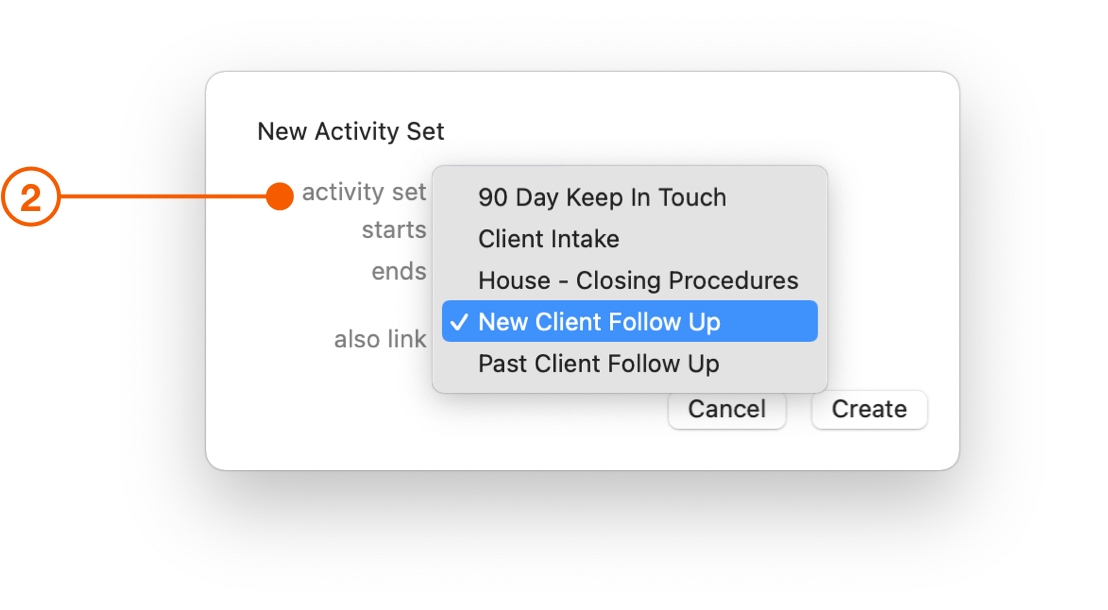
Choose your follow-up schedule from the activity set popup menu.
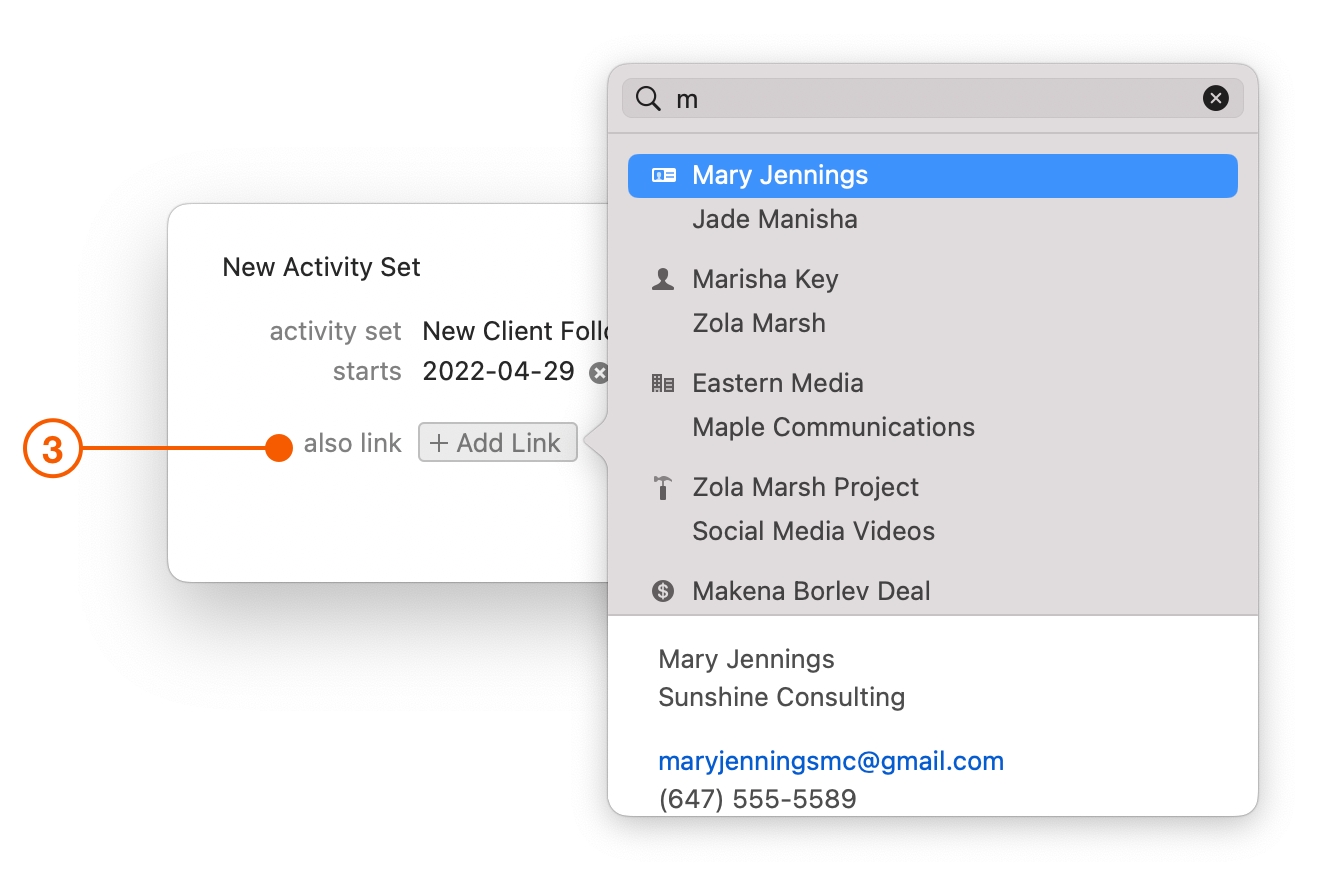
Optionally, you can link other items to each of the Activity Set Tasks by clicking + Add Link.
Your schedule of follow-ups will now be created and linked to the Contact. The number of days "after start" that you had set for each Task is the number of days from today they will be due.
Wrap Up
You have learned how to create a follow-up in Daylite, as well as create your own follow-up schedule. When you let Daylite remind you to follow up, you can focus on the work at hand.
Want to learn more? Learn How to Stop Things Falling through the Cracks
Last updated