Two-Factor Authentication
Two-factor authentication (2FA) is an extra layer of security used when signing into websites or apps.
With two-factor authentication enabled, you have to sign in with your username and password and provide another form of authentication that only you know or have access to. This ensures that only you can access your account, even if someone else knows your password.
Turning On Two-Factor Authentication
You can turn on two-factor authentication for your account using these steps:
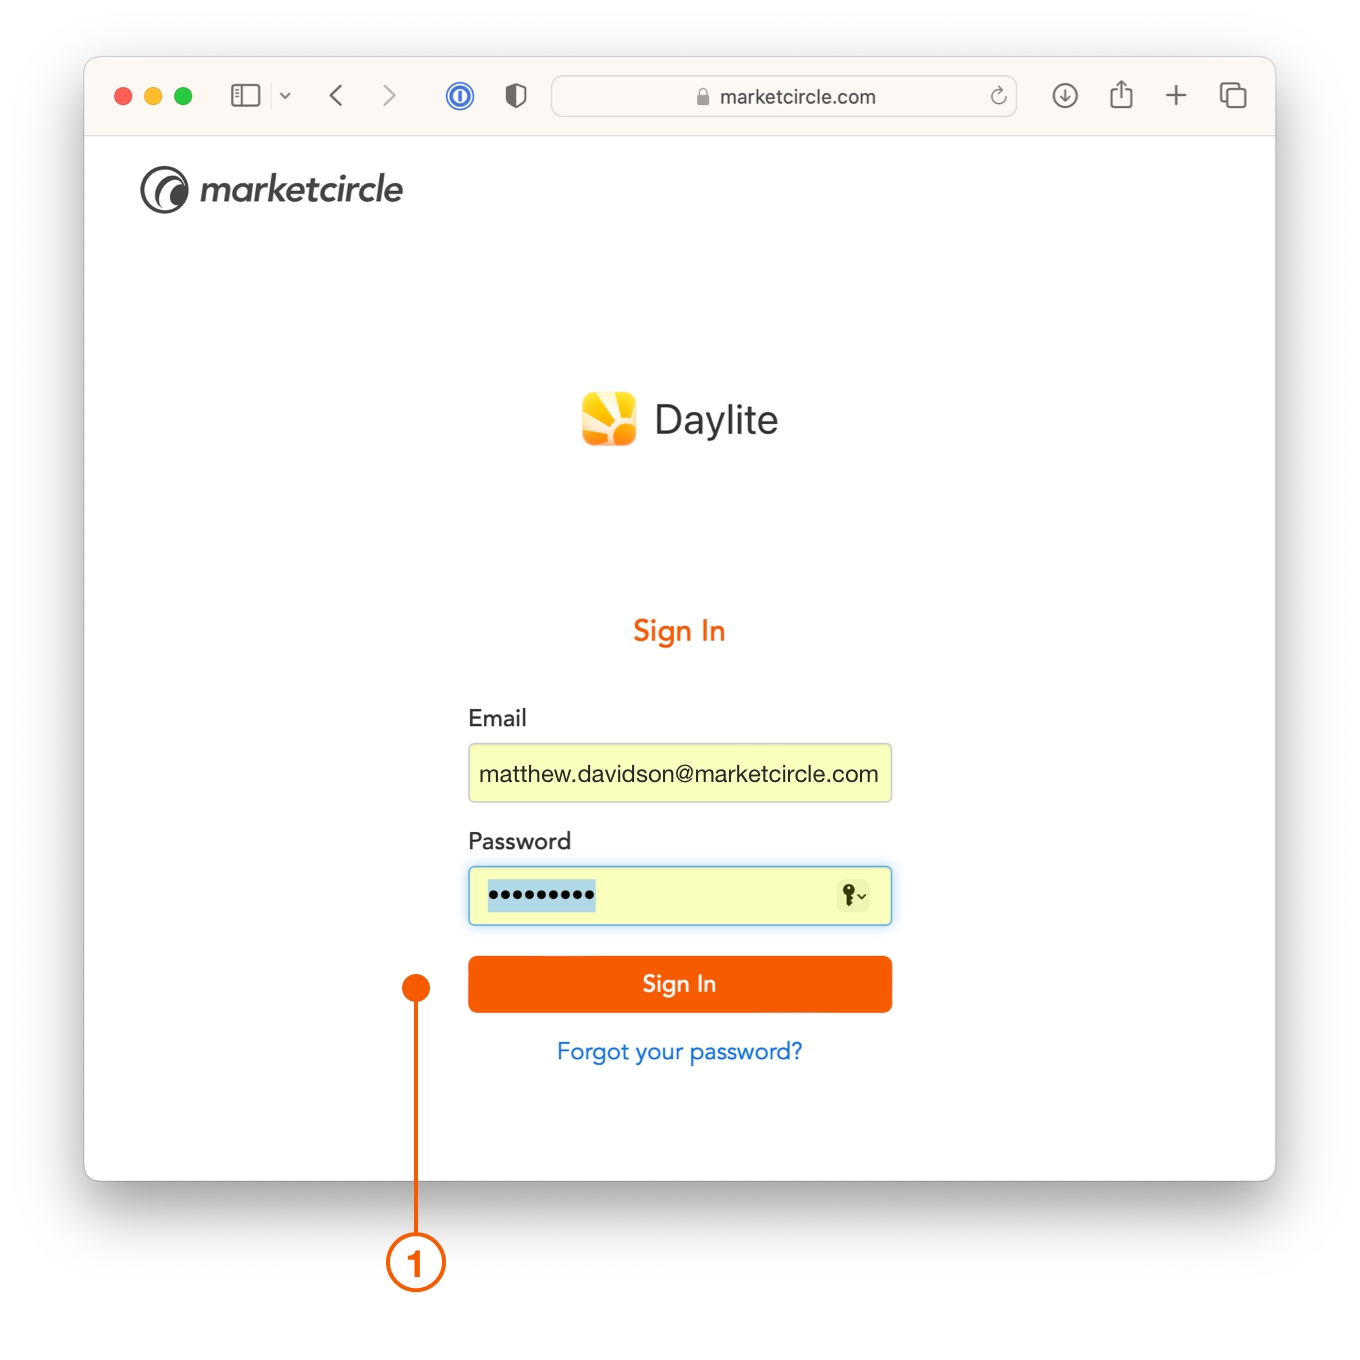
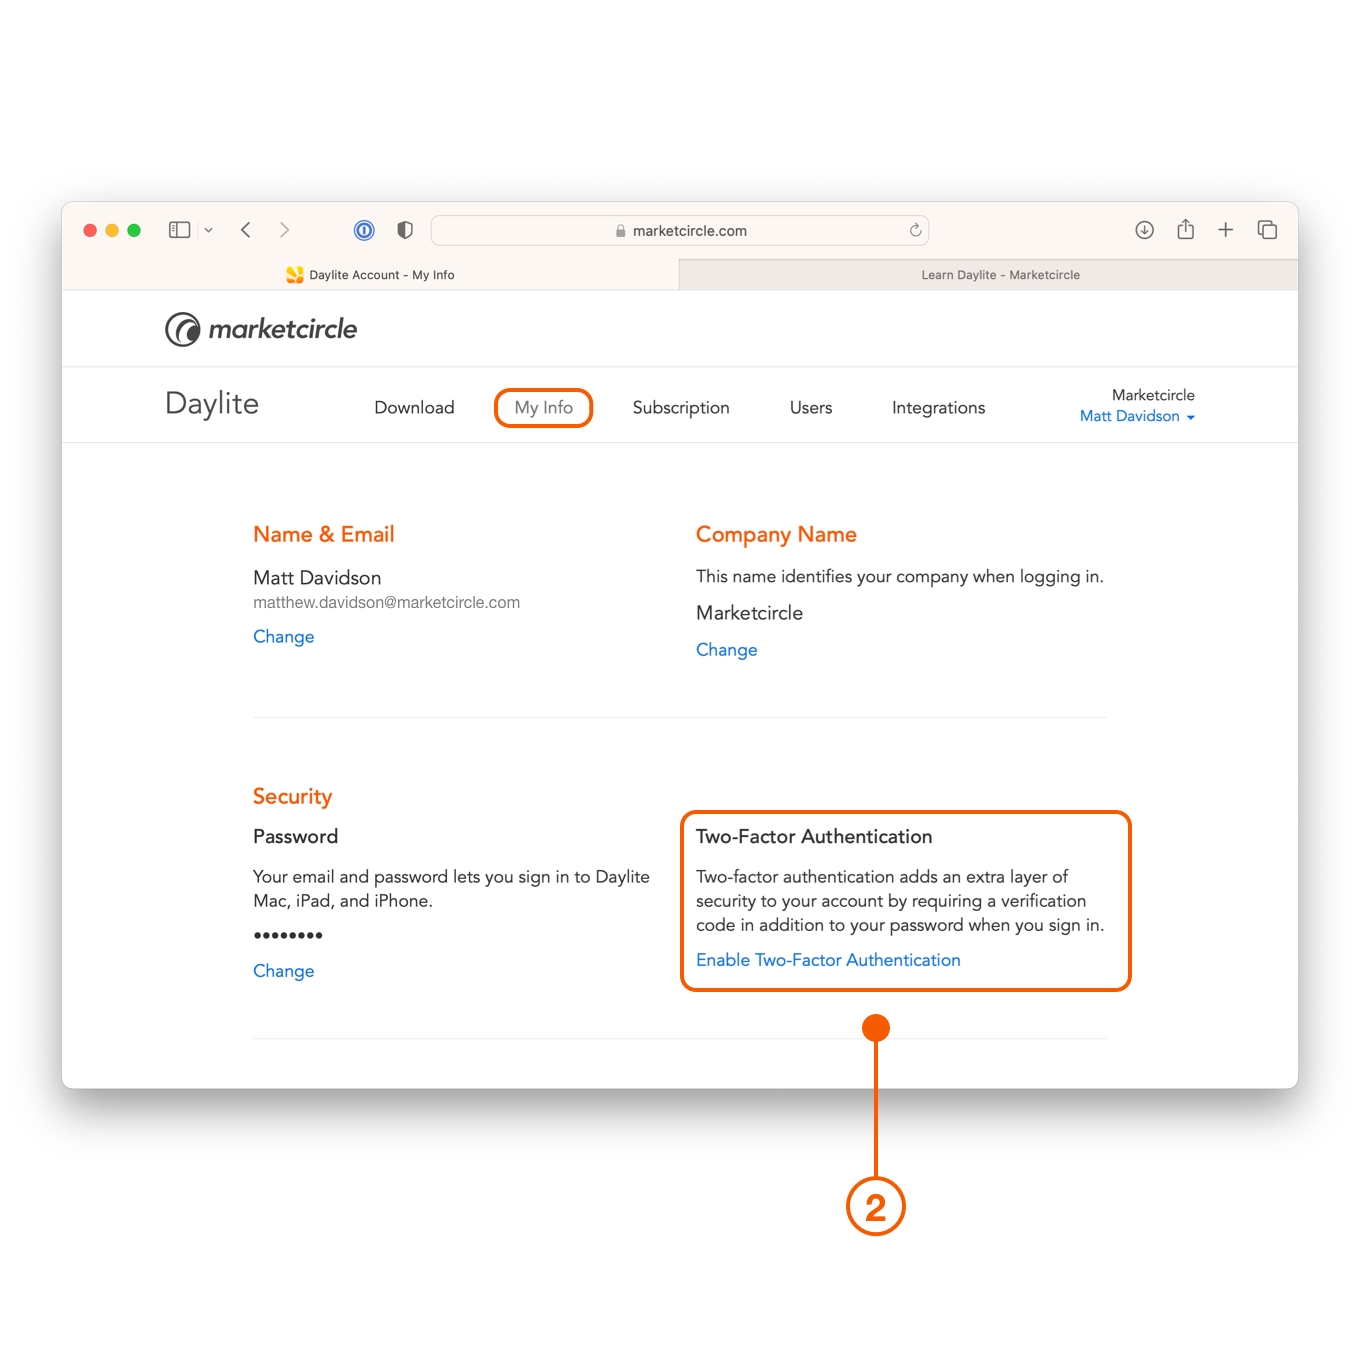
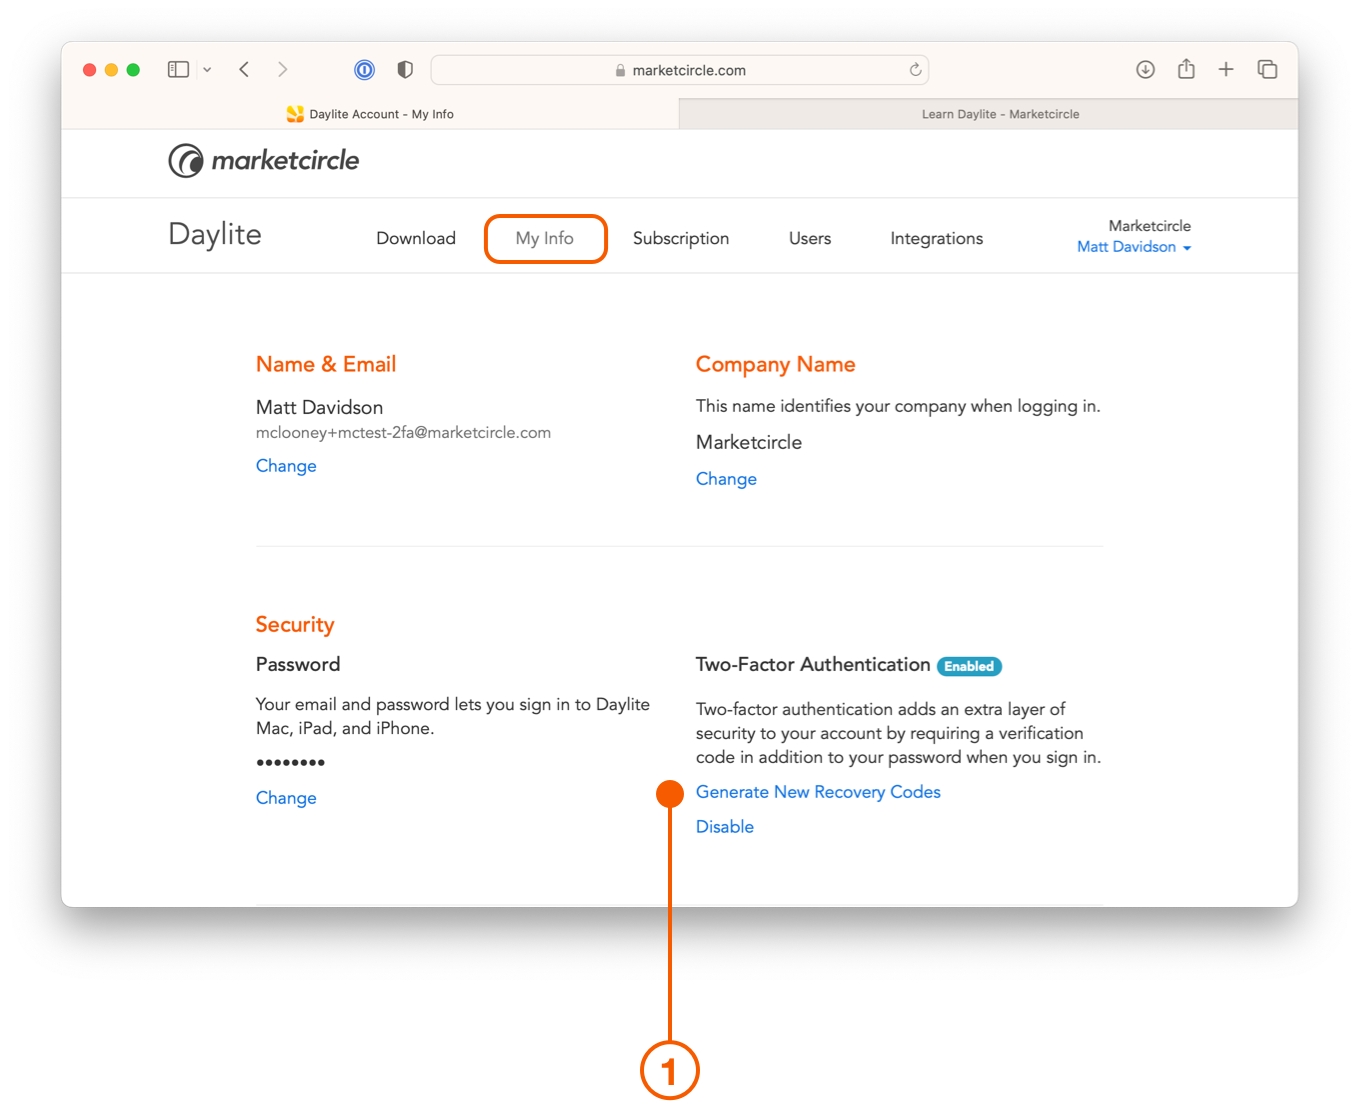
Sign into Account Manager.
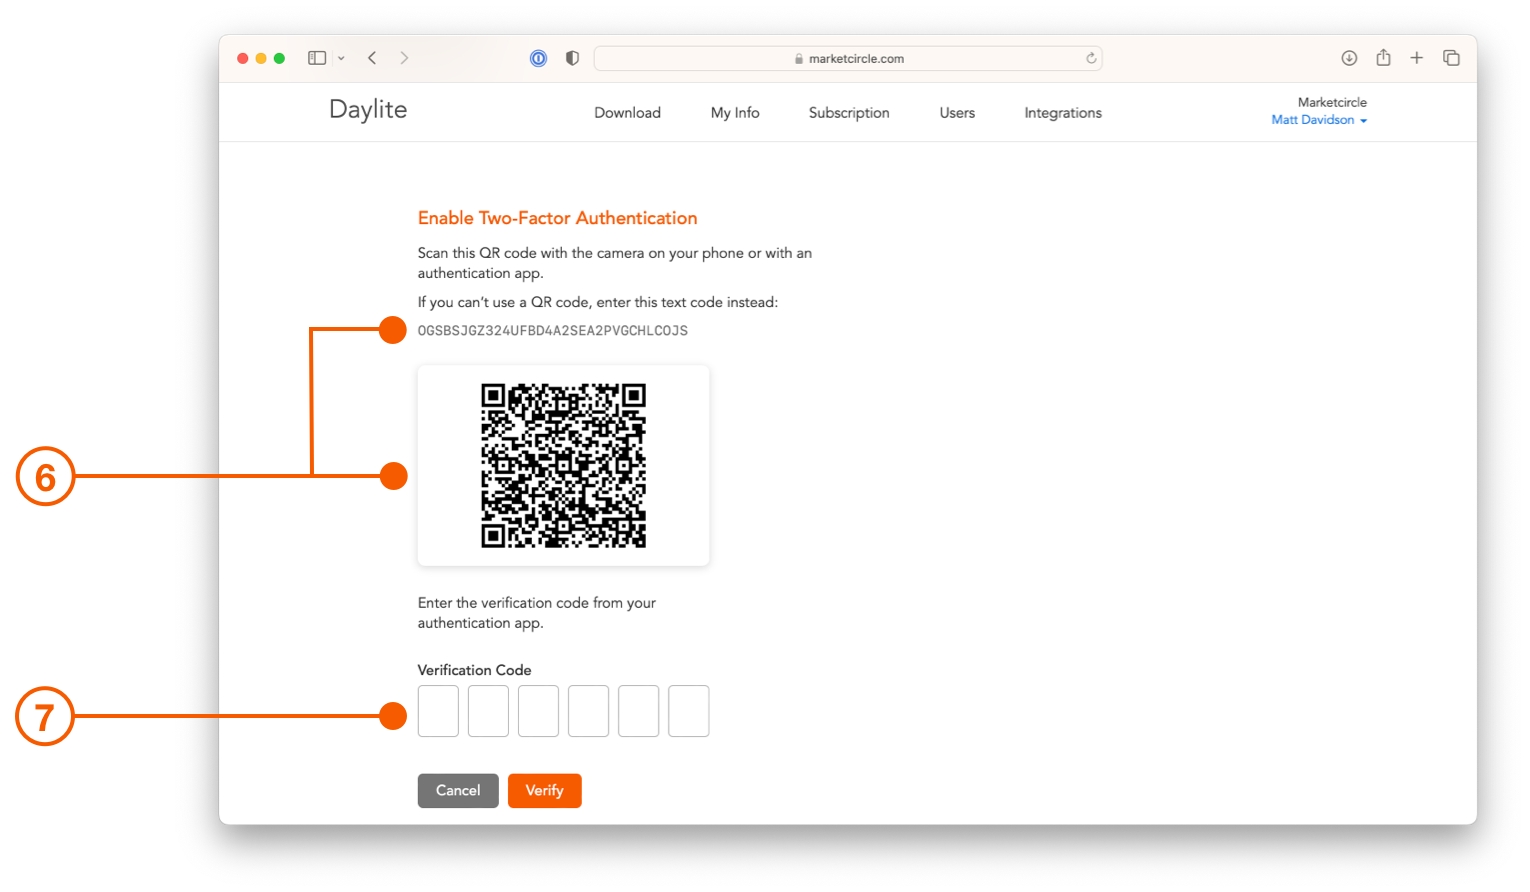
Select the My Info tab, and then select Enable Two-Factor Authentication under the Security section.
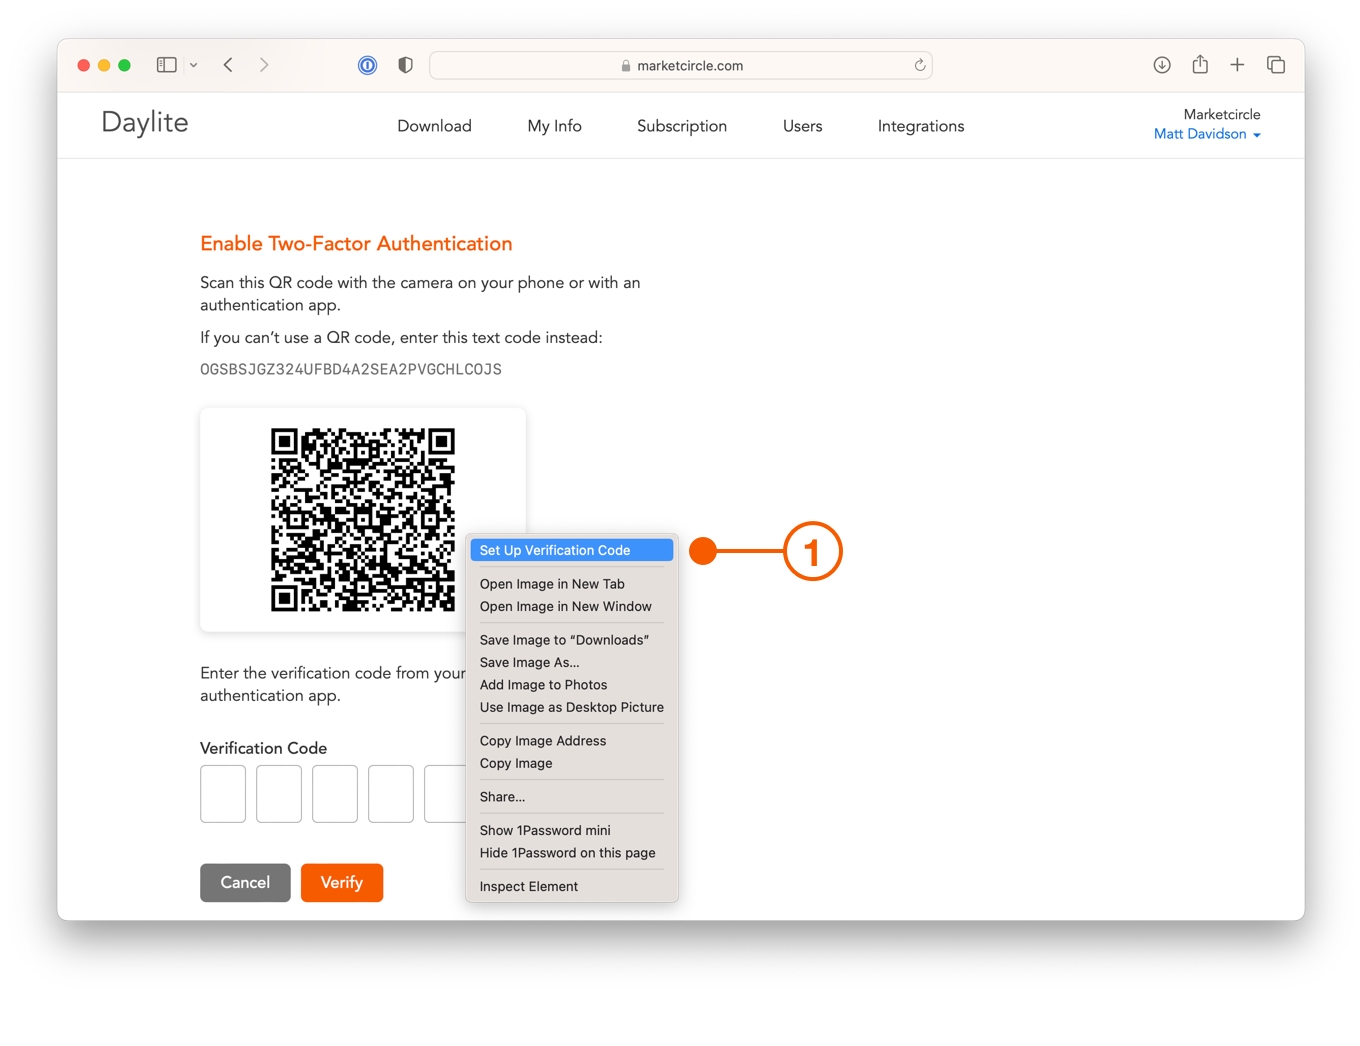
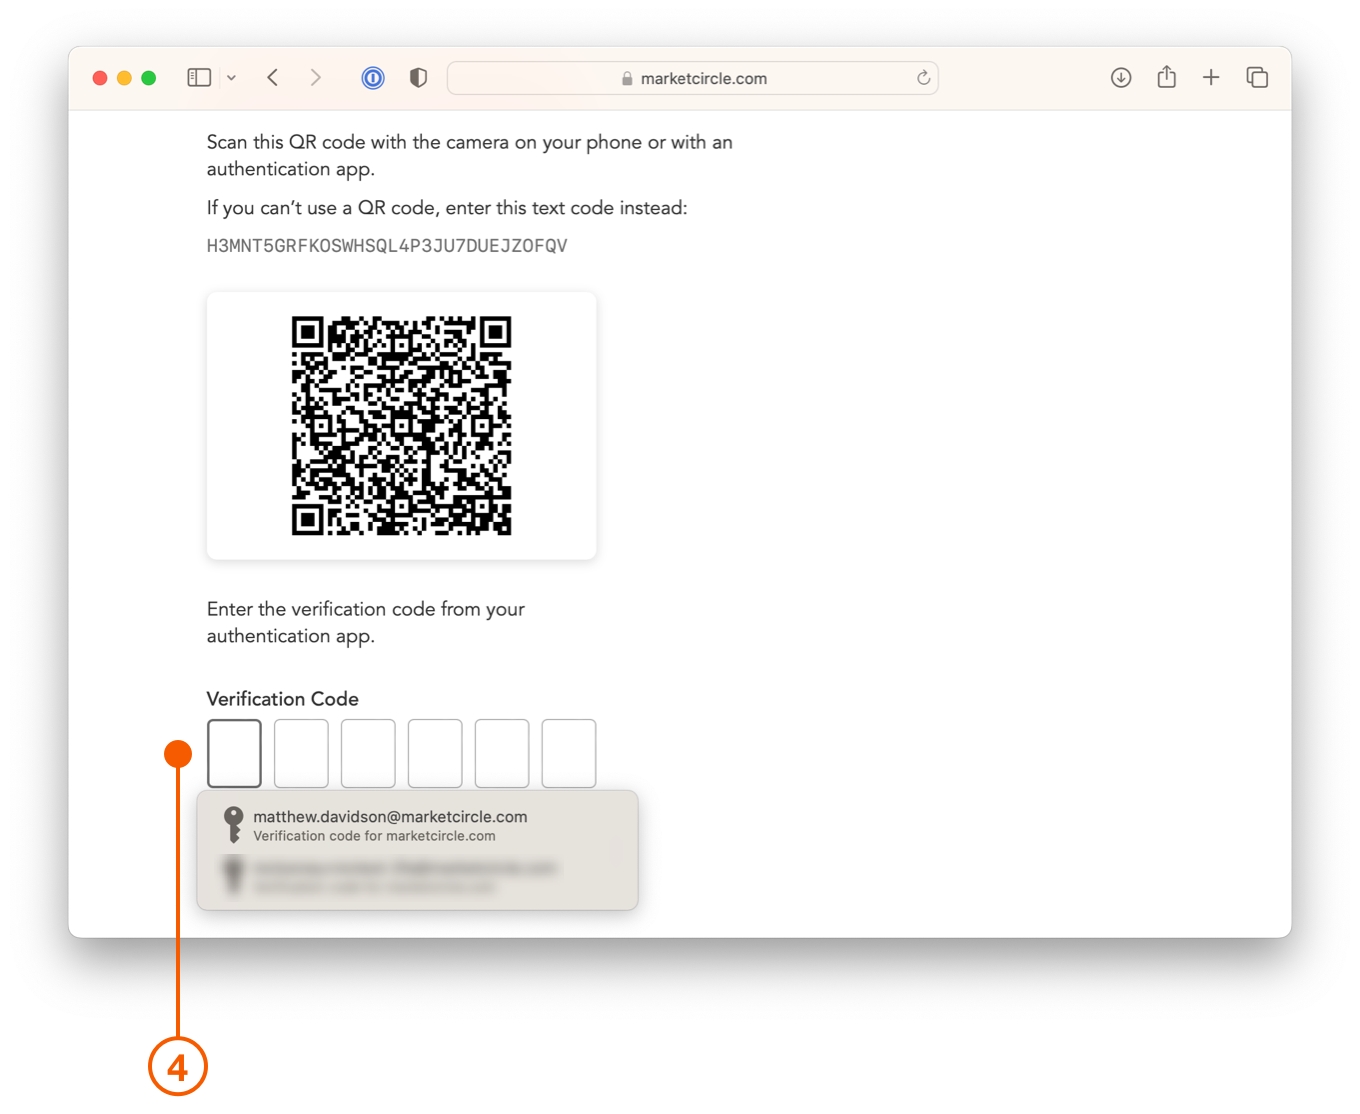
Daylite will now ask you to use an authentication app to obtain a verification code before continuing.
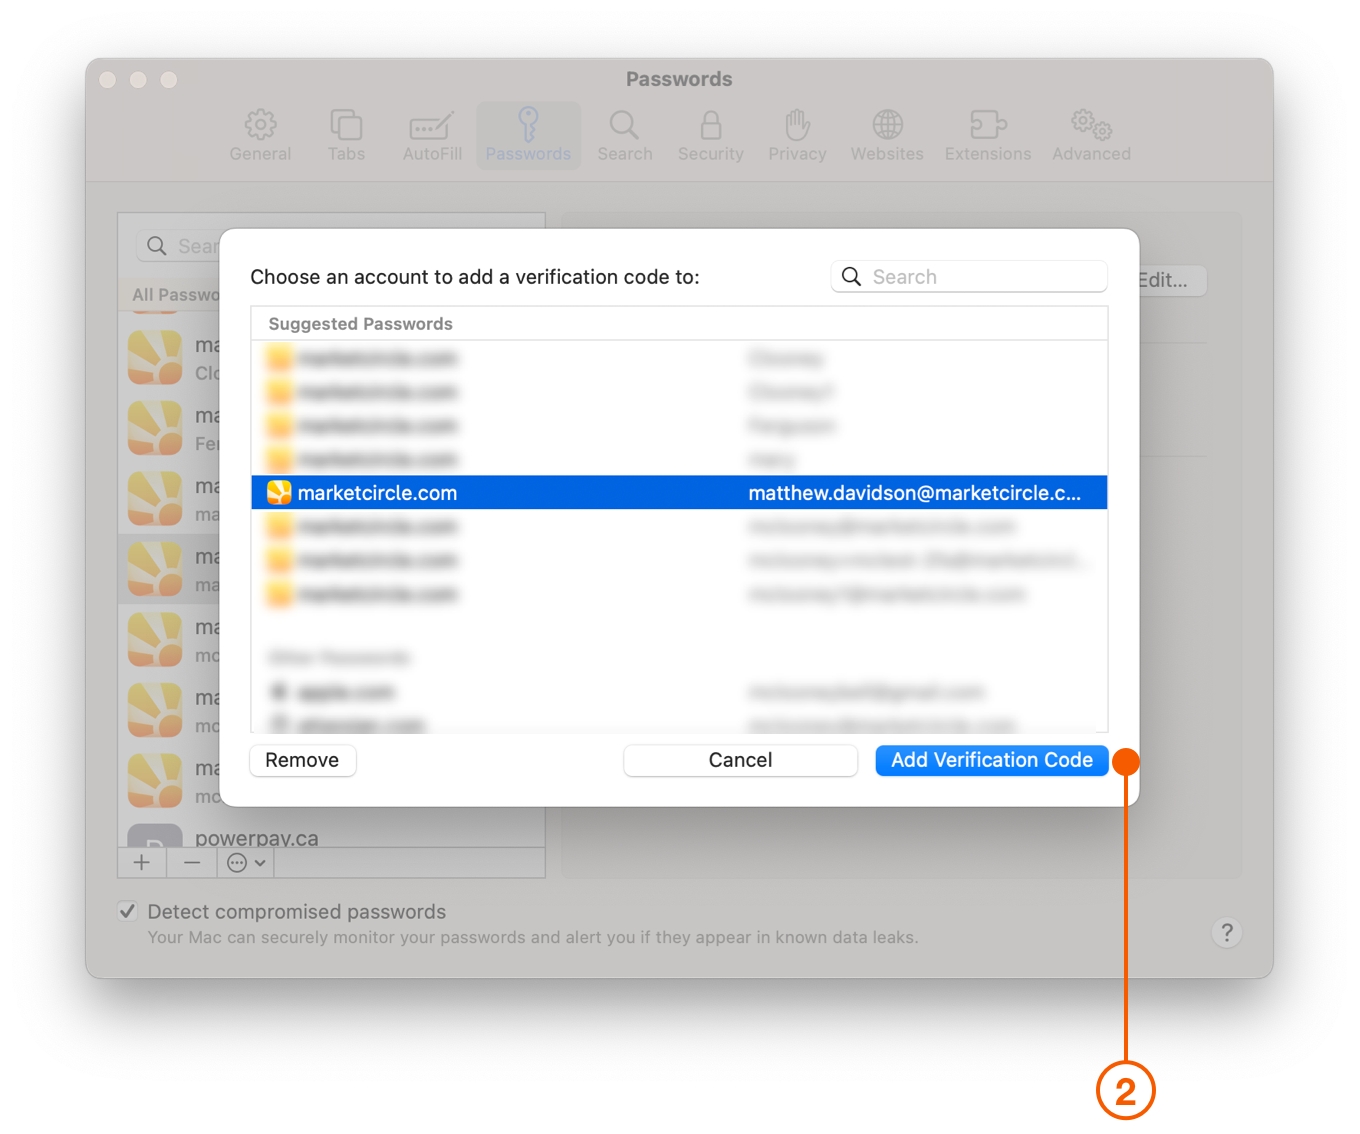
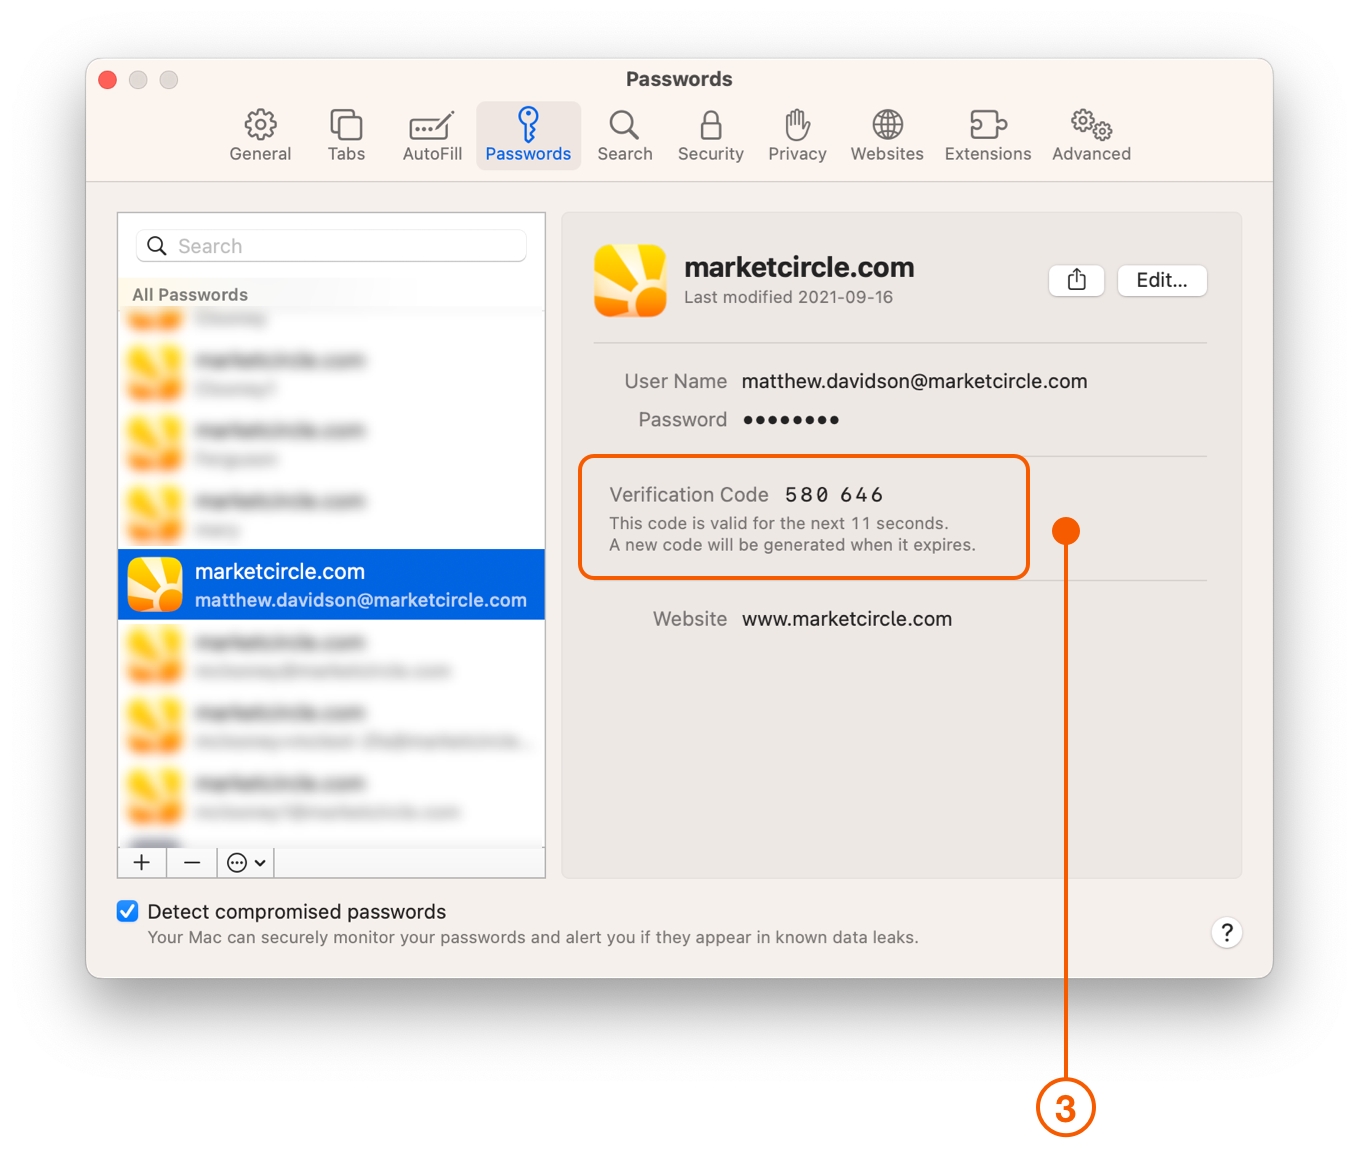
The simplest option is to use Apple's built-in Passwords. This way you can simply right-click on the QR code and choose Set Up Verification Code.
Select the login you wish to associate the verification code with and click Add Verification Code.
The Verification Code has now been successfully linked to your account.
Click on the Daylite Verification Code field and it will automatically populate. If you have turned off the password auto-fill feature in Safari you will need to enter the Verification Code manually.
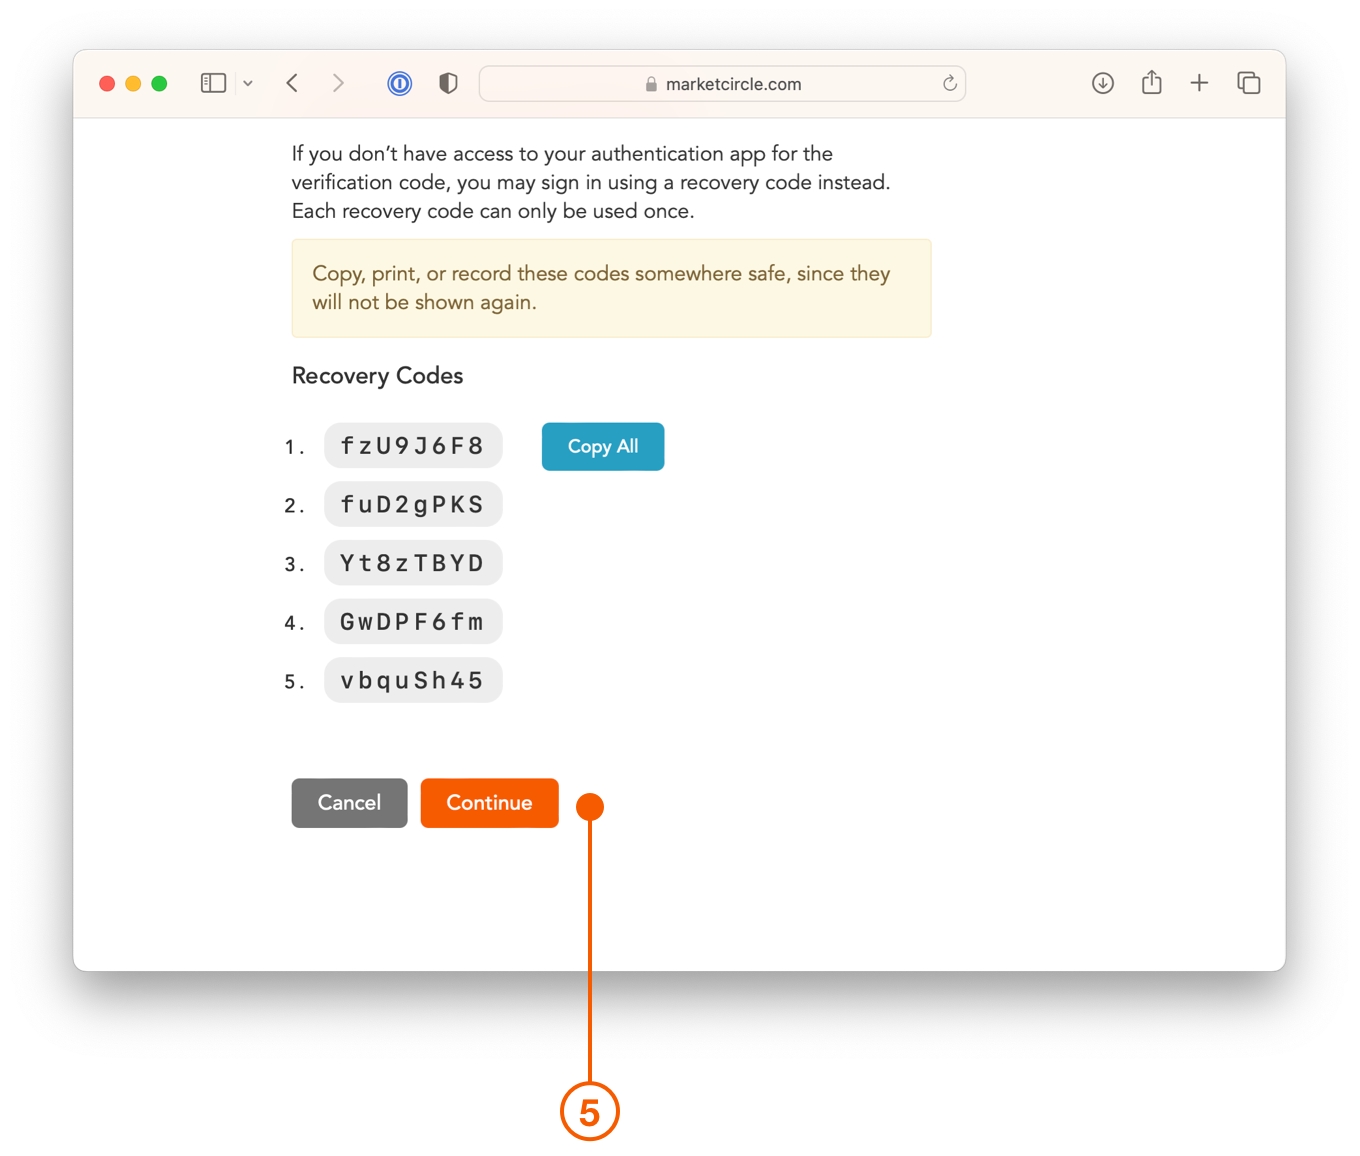
Daylite will now show you Recovery Codes, which you should copy or print, and store someplace safe in the event you lose or do not have access to your authentication app. Click Continue when ready.
If you are using a different authentication app, such as 1Password or Google Authenticator you can scan the QR code, or copy and paste the text code into the app.
Your authentication app will now be able to provide a verification code, which you need to enter to continue.
Logging In
Once two-factor authentication has been enabled, Daylite will require a verification code each time you log in. The process is the same on a Mac, iPhone or iPad.
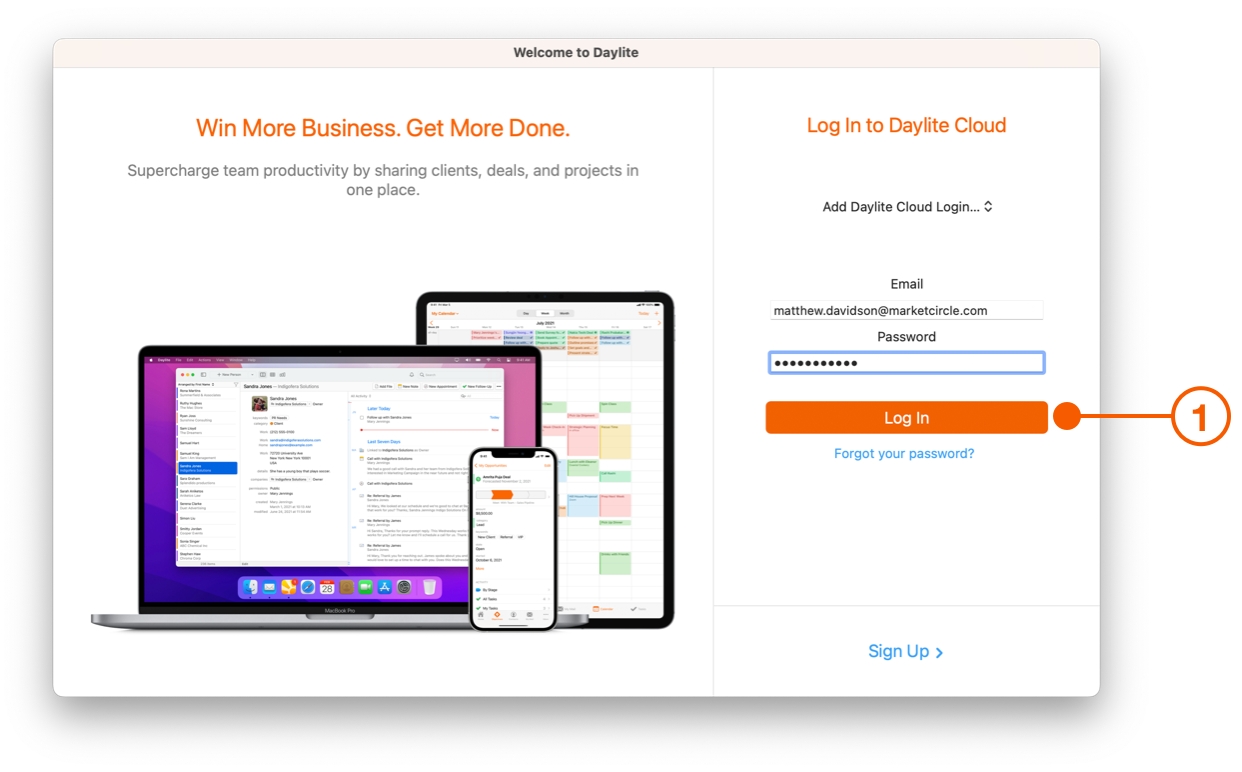
Logging in still begins with your email and password just like before.
It is now followed by a Verification Code request. Enter the verification code from your Authentication app and click Verify.
If you do not have access to your Verification Code you can click Sign in with recovery code and enter one of the recovery codes you have previously written down, saved or printed.
It is important to note that once two-factor authentication is enabled, sign in will require an updated version of Daylite. Older versions of Daylite will not be able to sign into an account with two-factor authentication enabled.
However, any Mac, iPad, or iPhone that is already logged in will not need to re-authenticate.
Pro Tip:
Setting up iCloud Keychain helps save your passwords automatically, receive password suggestions, and gives you verification code integration with Daylite.
Generating New Recovery Codes
A recovery code can only be used once before it is invalidated, so you may decide to generate new ones to have on hand. You may also want to create new recovery codes if you have lost your old ones.
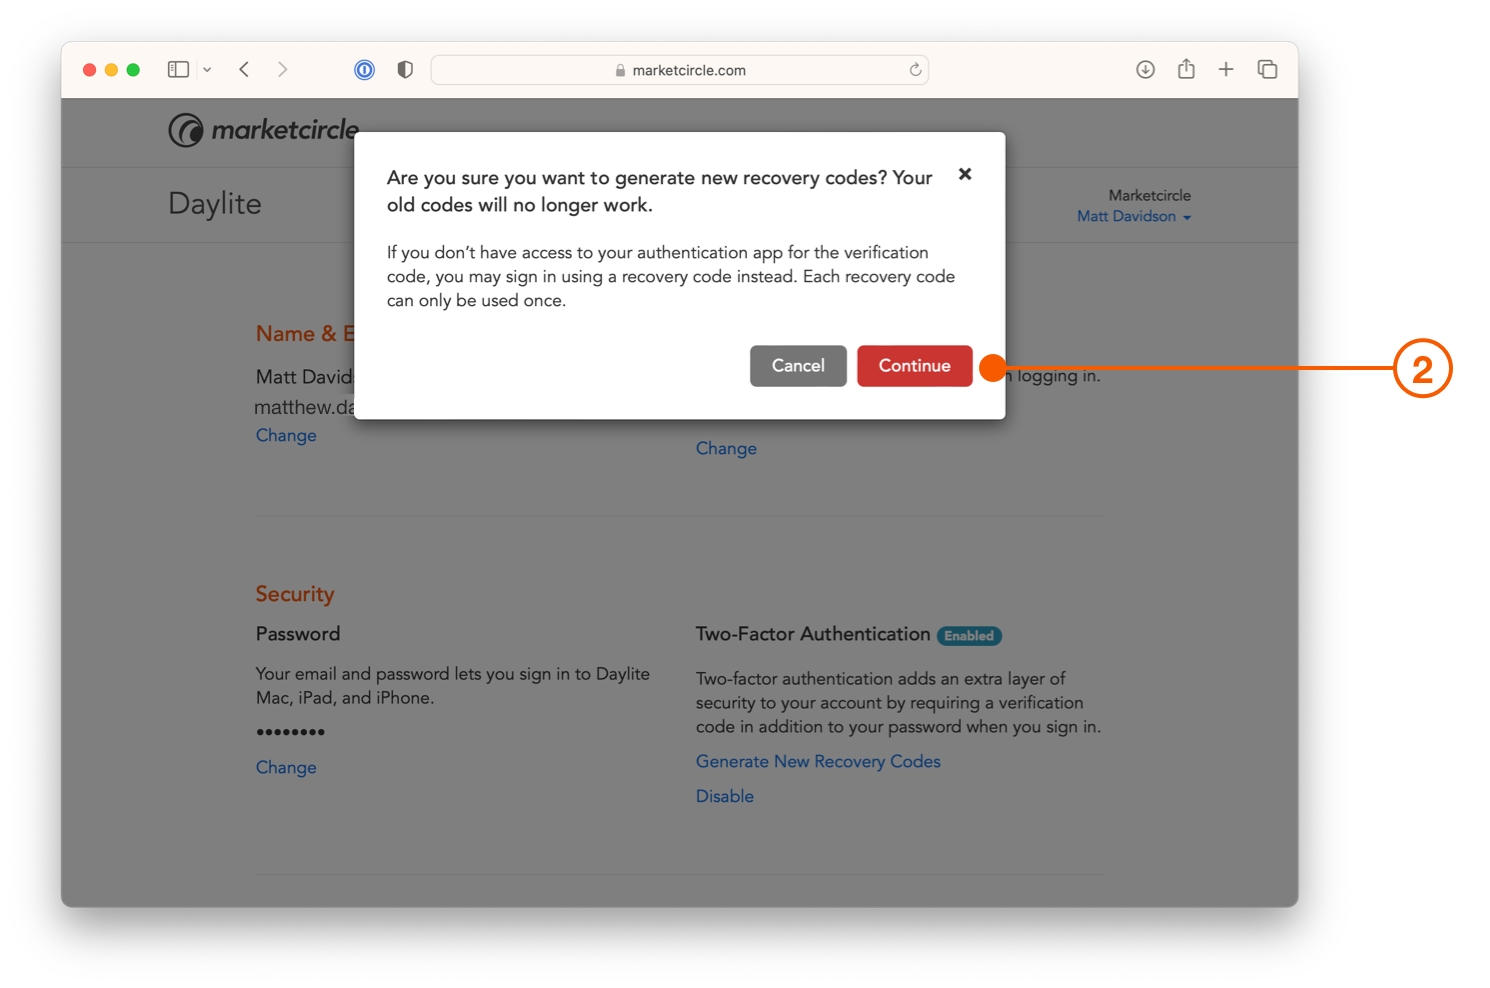
Sign into your account and select My Info, then click Generate New Recovery Codes.
Click Continue when asked to confirm. New recovery codes are generated and you are instructed to copy, print, or store them.
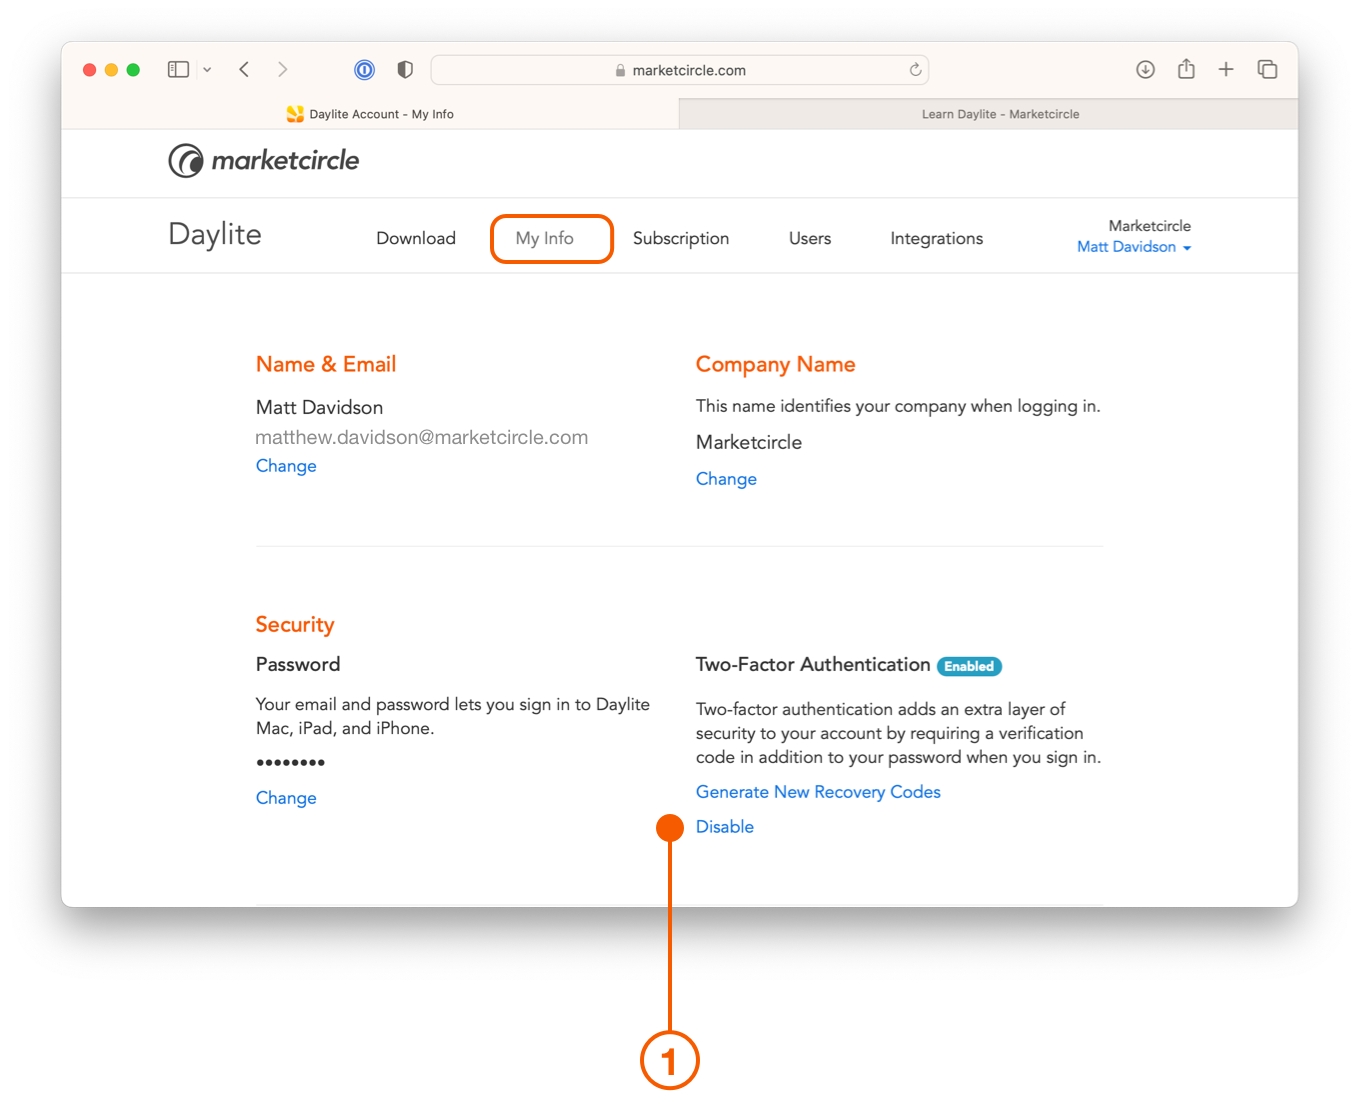
Disabling Two-Factor Authentication
You can disable two-factor authentication by signing into your account and selecting My Info, then click Disable.
You will be asked to confirm your decision to disable two factor authentication and warned that your account is more secure with two-factor authentication enabled.
Company Requirement for Two-Factor Authentication
A company may decide to require all users to use two-factor authentication to log in.
The company's account administrator can turn on the requirement for two-factor authentication, which means each user will need to follow the steps outlined in this article to turn on two-factor authentication for their own account.
In order to turn on the company requirement for two-factor authentication:
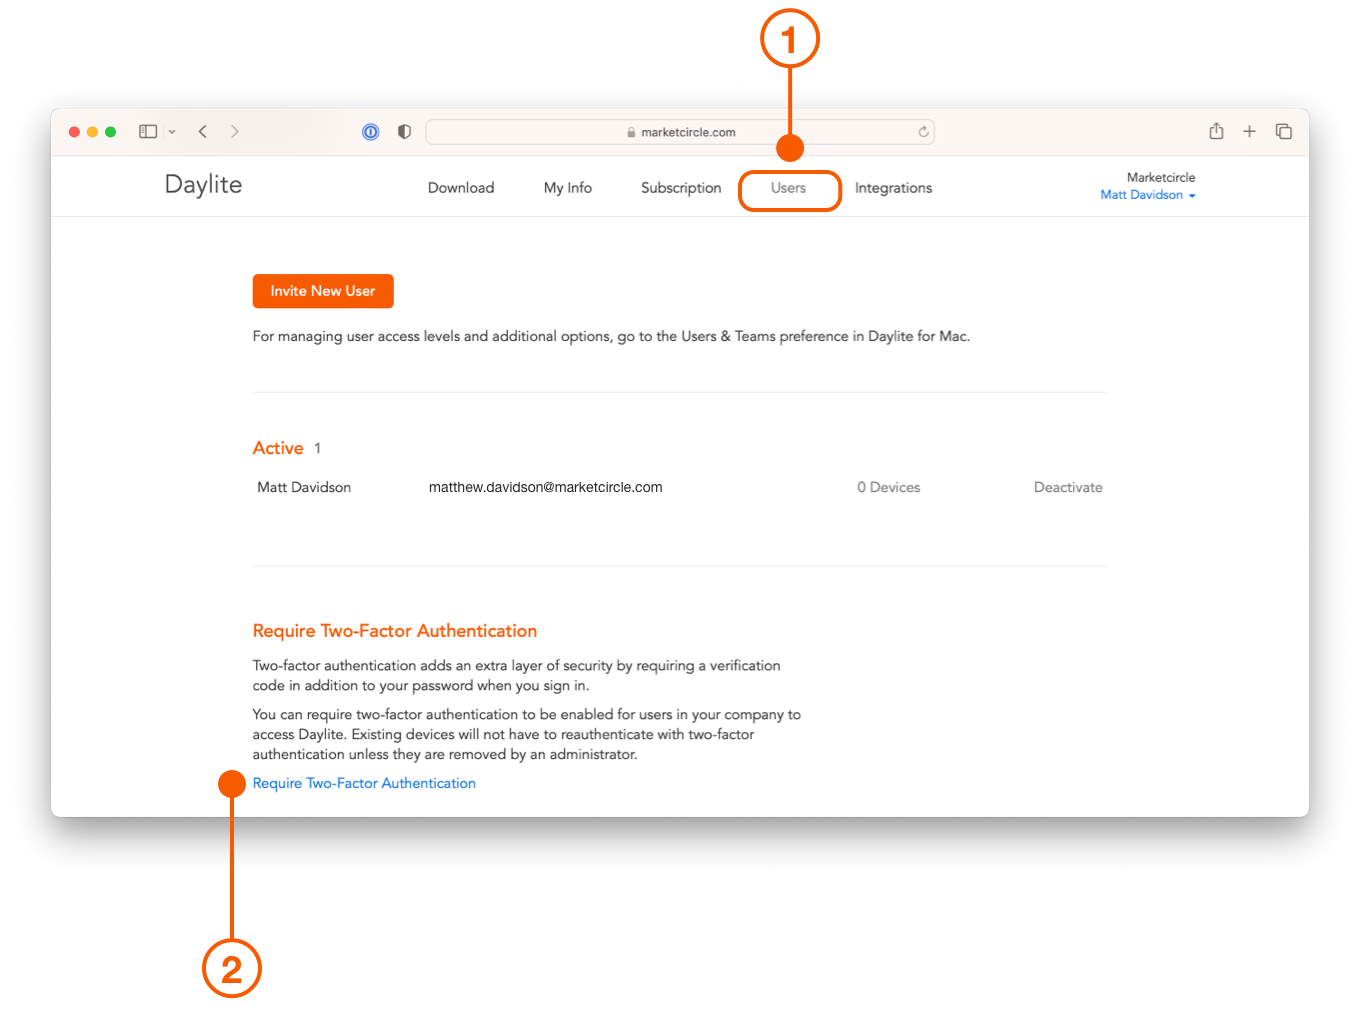
The account administrator must log in to Account Manager and select the Users tab.
Click Require Two-Factor Authentication.
The administrator can also see which users have enabled two-factor authentication, which is indicated with a 2FA badge on each user's row on the Users tab. The same badge will also show on the row for each device that has logged in using two-factor authentication. Note that existing devices are not forced to reauthenticate when turning on two-factor authentication, so the user would need to log out and log in again on a device for it to show the badge.
Wrap Up
Two-factor authentication lets you enjoy peace of mind, knowing your Daylite data is protected. You are the only one who can access your account, even if someone else knows your password.
Last updated